


Load testing is a type of performance testing that simulates a real-world load on any software, application, or website.[1]
So basically, if your application needs to handle a huge amount of user/request, load testing is recommended.
During the load testing phase, we could detect throttle defect in the application/infrastructure so we could fix/optimize the defect to increase the performance of the application.
What is JMeter
The Apache JMeter™ application is open source and 100% pure Java application designed to load test functional behavior and measure performance.[2]
Nowadays, there are many alternative load testing tools but I still decide to use JMeter because of the following reasons.
- It's open sourced by Apache so it is reliable
- It supports both GUI interface and Command line
- It supports a wide range of request types and assertions
- It's easy to use and has a lot of plugins/third parties tool
In order to start using JMeter:
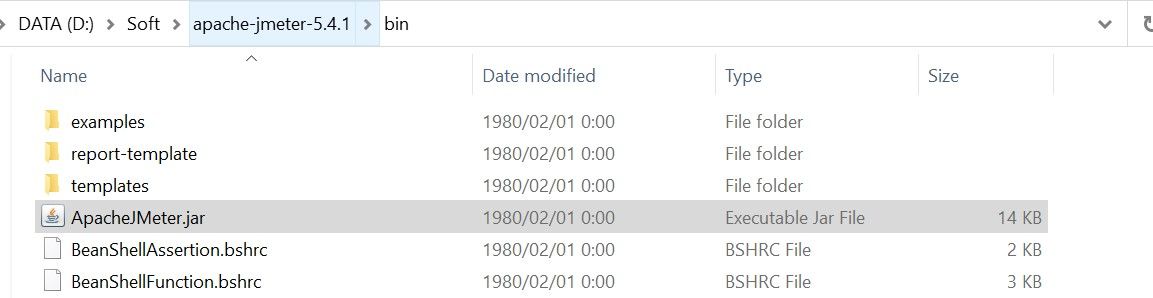
Firstly, download latest version binaries (Java 8+ is required) and extract the archive file
https://jmeter.apache.org/download_jmeter.cgi
Then you can start using the GUI JMeter in the bin folder
Basic load testing using JMeter
The application that I use for demonstrating load testing is from the following repo. Thank Le Vu Luong for his awesome app.
https://github.com/luvuong-le/node-vue-chat
Prepare JMeter
After you open JMeter GUI, we can start creating test plans.
Let's first rename our test plan.
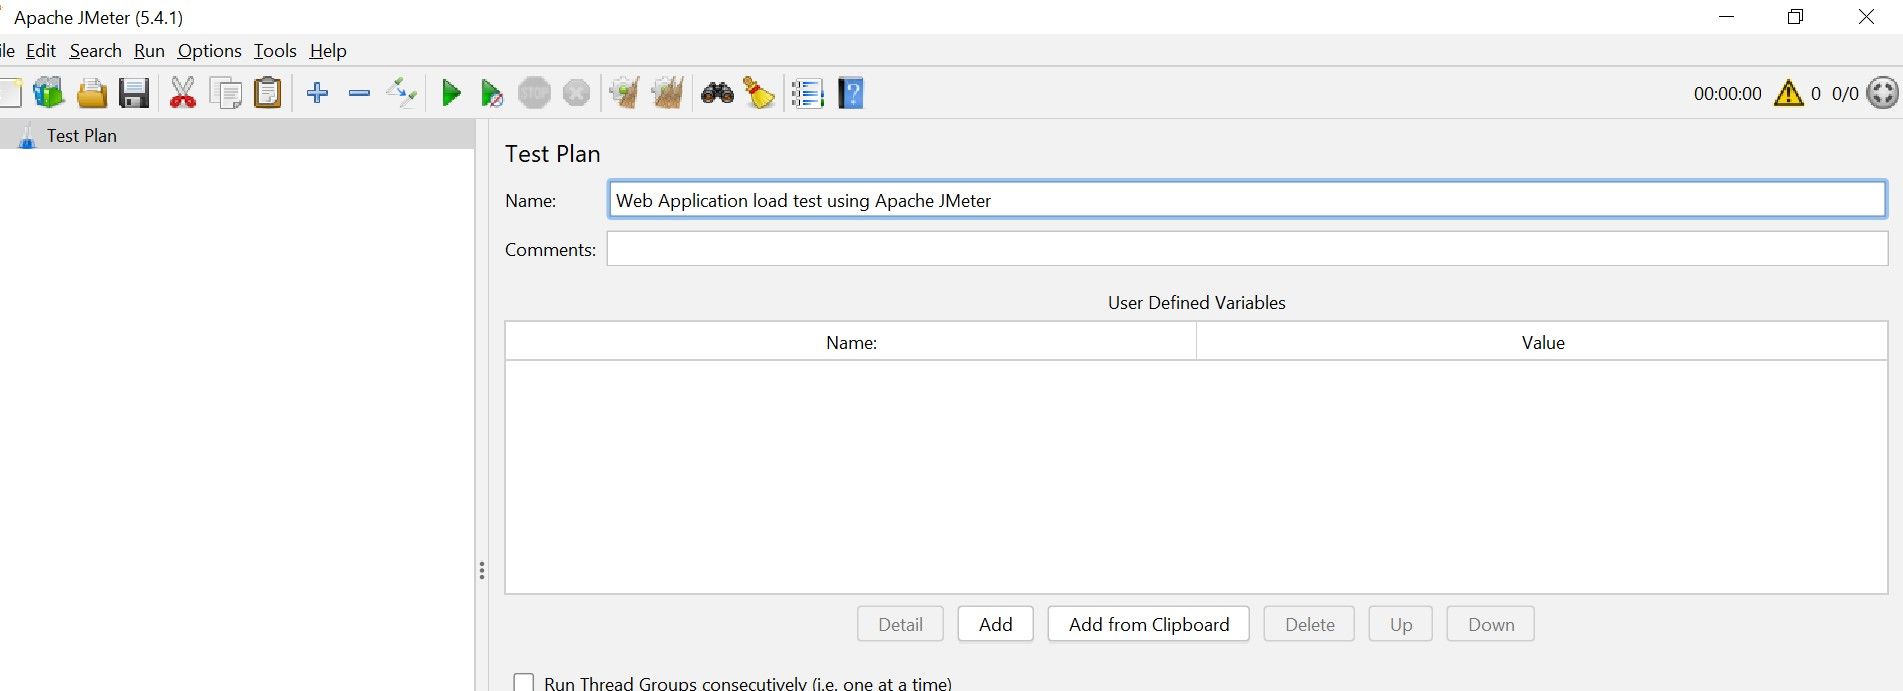
After you rename the test plan, as you can see the Test plan name on the left side also changed to your new name.
The left side is where you define the flow of the test by adding elements to the test plan.
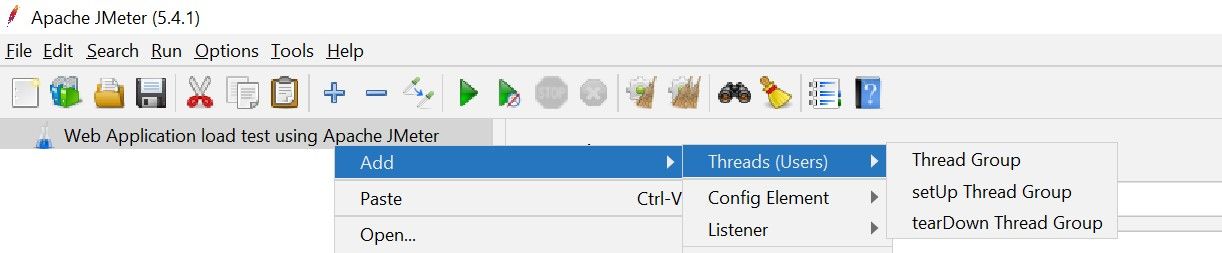
Now, to stimulate the users, you needed to add a Thread Group element.
Now, select the Thread Group element.
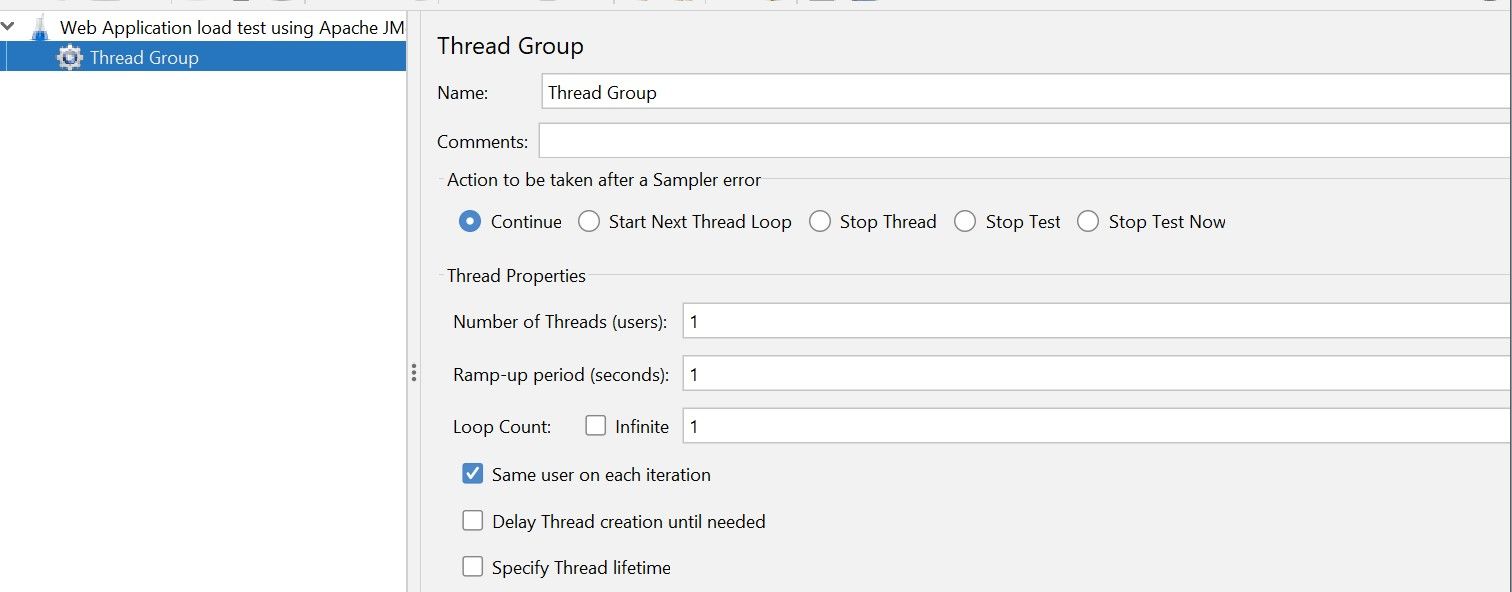
- Action to be taken after a Sample error
This means if a user/request failed, what will happen to the thread running that user/request
- Continue: ignore the error and run the next request
- Start Next Thread Loop: stop that user/request thread and start next user.
- Stop Thread: stop that user/request
- Stop Test: Stop the test plan (all other users/requests) peacefully
- Stop Test Now: Stop the test plan forcefully
- Thread Properties
We can define number of users of the test case here.
- Number of Threads: defines the number of Users you want to simulate for the execution.
- Ramp-up period (seconds): this defines the time to read the Number of threads
For Example:
If your threads is 1200 and your ramp-up periods is 60s -> so it would take 60s to reach 1200 threads start. So it means in 1s, 20 threads will be runned.
- Loop Count
This defines each thread will run how many times (Infinite means it will run until you stop the test manually).
For now let's just start with 1 user in 1 second and 1 loop.
The Test Case
Let's suppose we have the following test case
- Register an account
- Login Failed
- Login using the registered account
- Get the info of the current user
Look into the request
If your application has been well documented with API document (which is usually not in many of my case), you can prepare the request and start writing the Test Case to JMeter.
But I will show you an easy way to create request element in JMeter.
- Open Chrome Dev Tool
- Do the action you want to write test case (in this case is register)
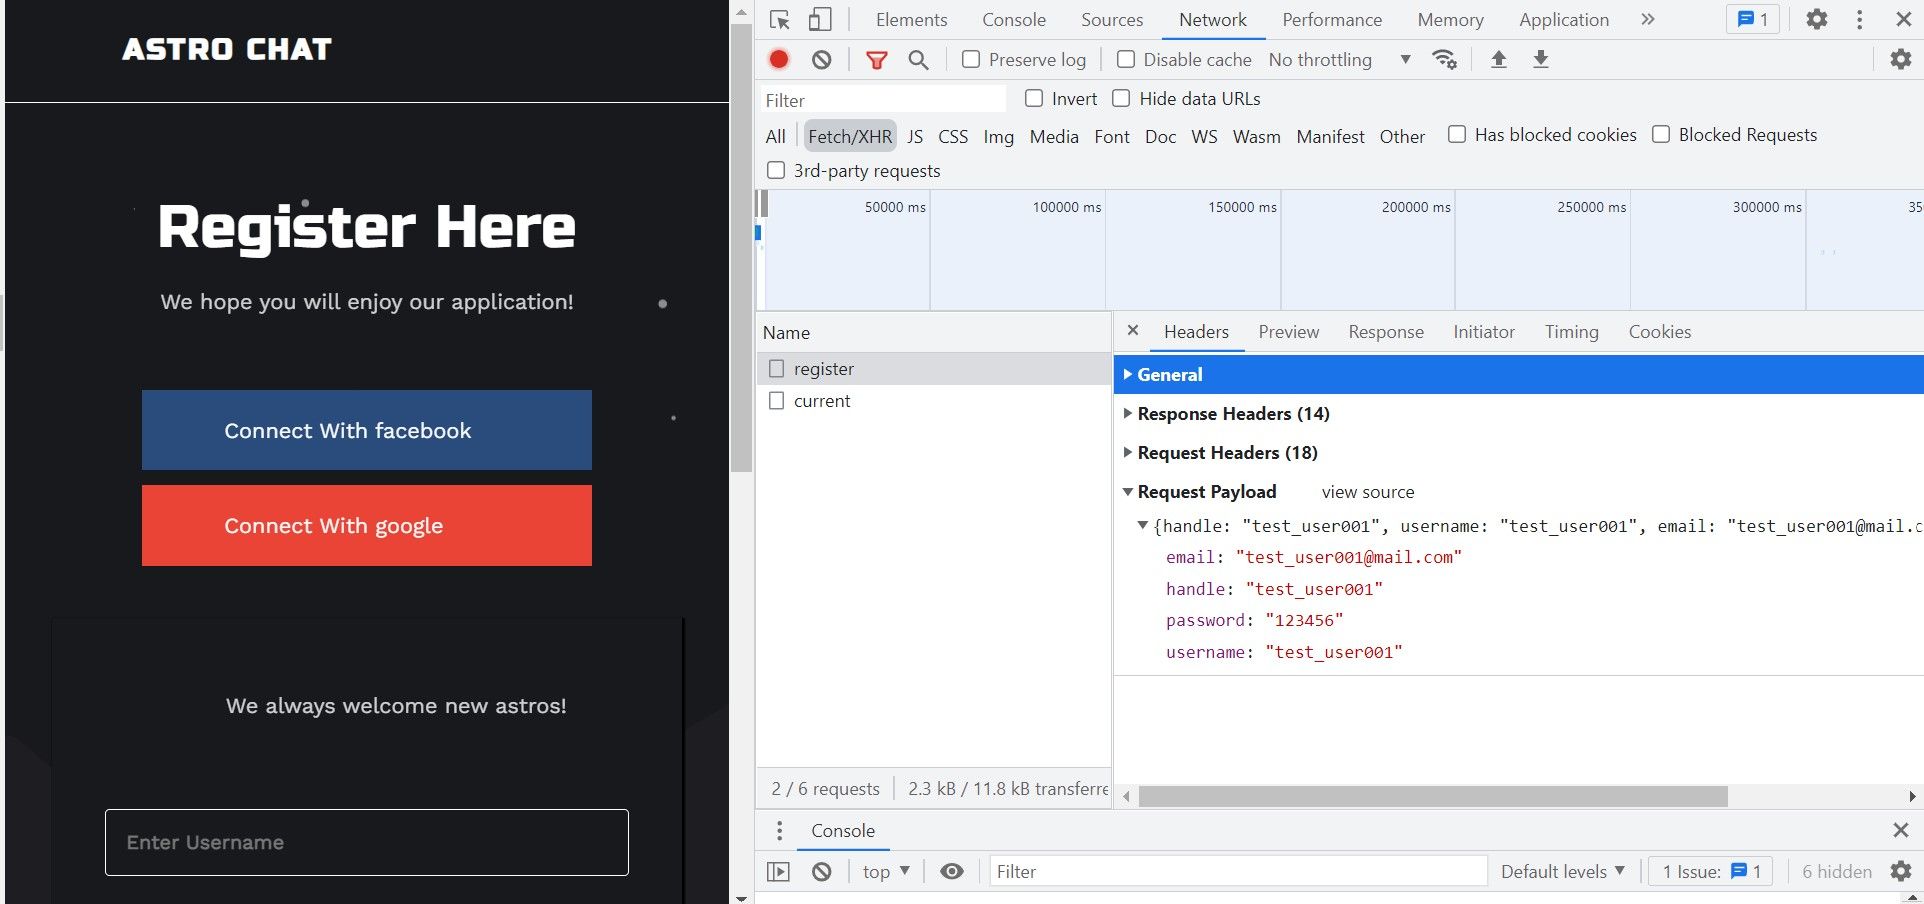
- Right click on the request and choose copy cURL
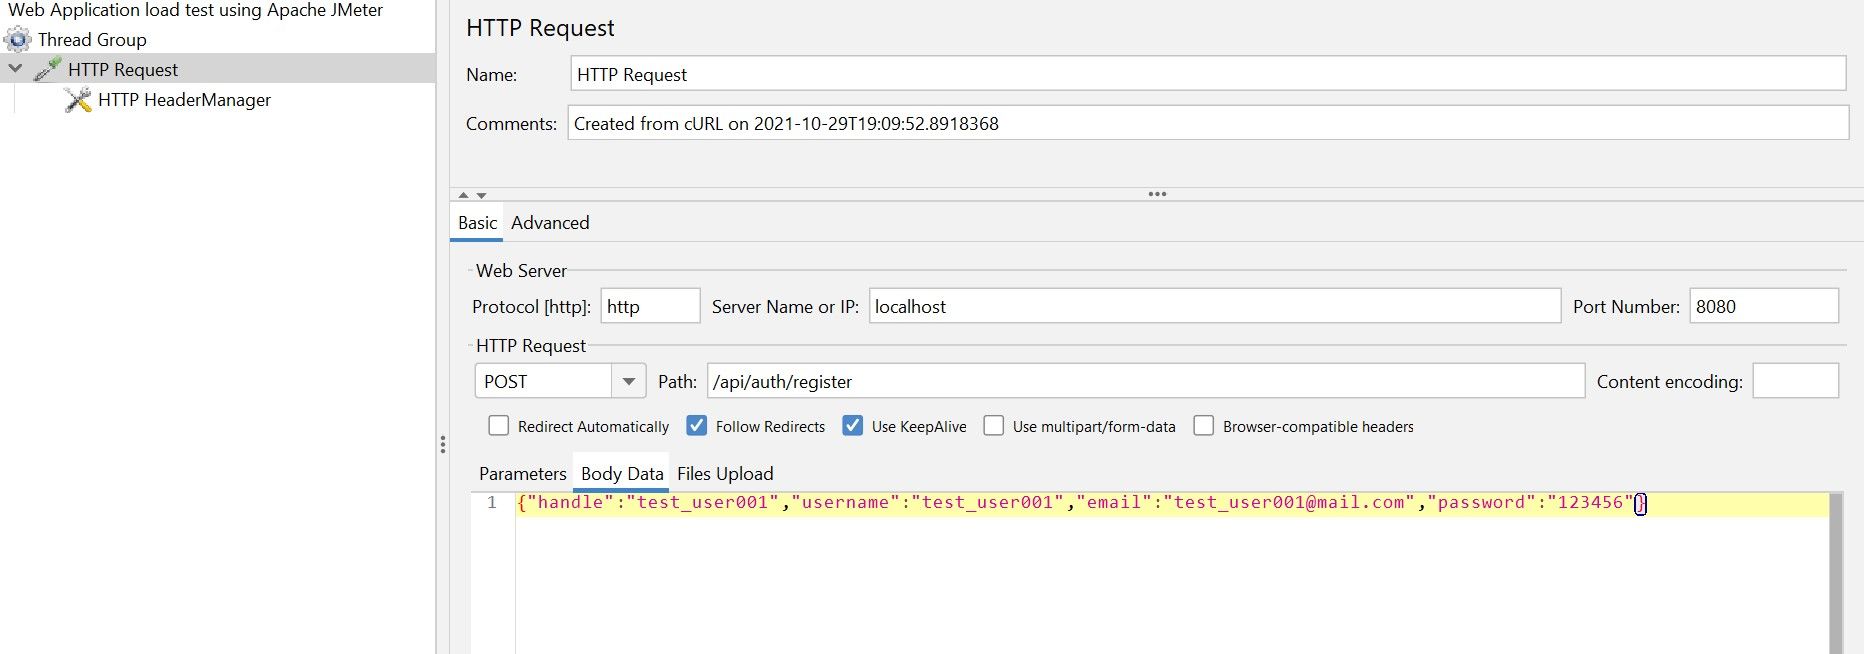
- In JMeter, choose Tools > Import from cURL
- Paste the cURL that we copied from step 3 then import it
- Now you have a full HTTP Request Element with Header that look like a real user
Run the test
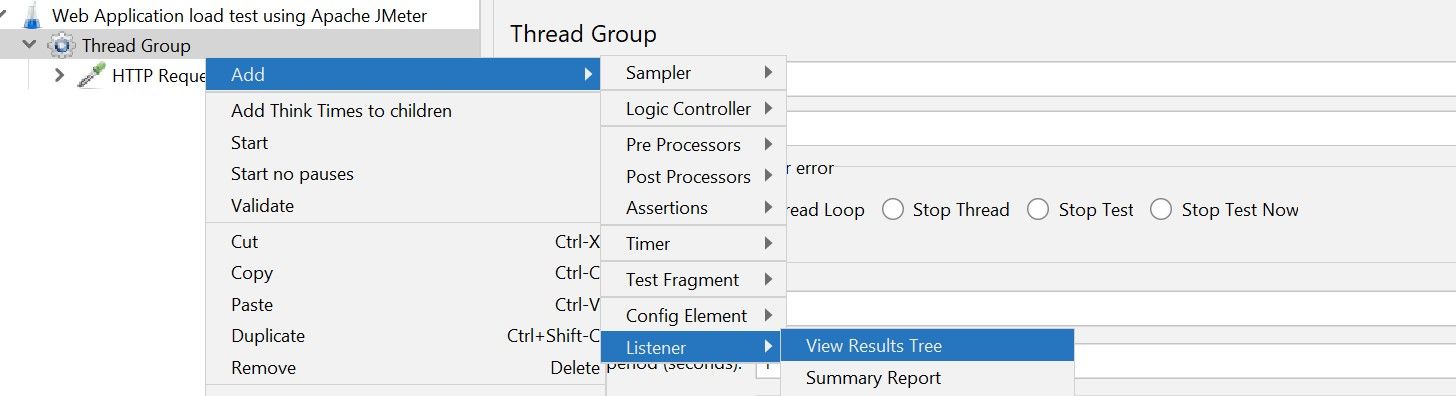
Before running the test, to see the test result, we should add a listener.
First, right click on the thread group and add a result tree listener
Now, to start the test. click on the start button

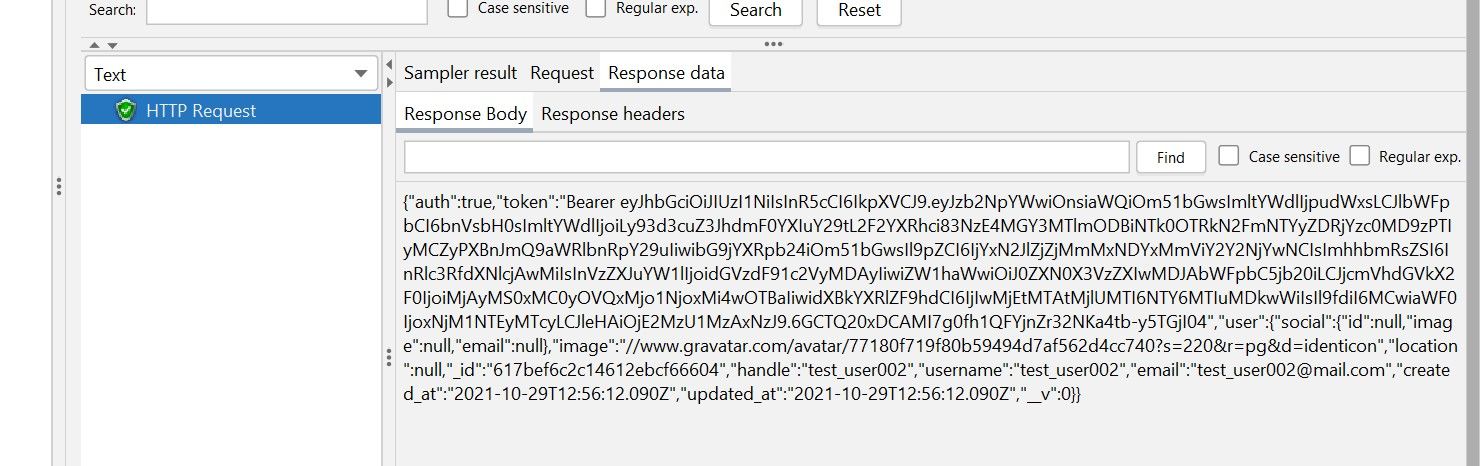
Now, you can click on the View Results Tree element and check the request result.
As you can see, it response with code 200 but the response data is errors
It is because we already register that user with the user_name test_user001
We need to change the request body data to a new user data.
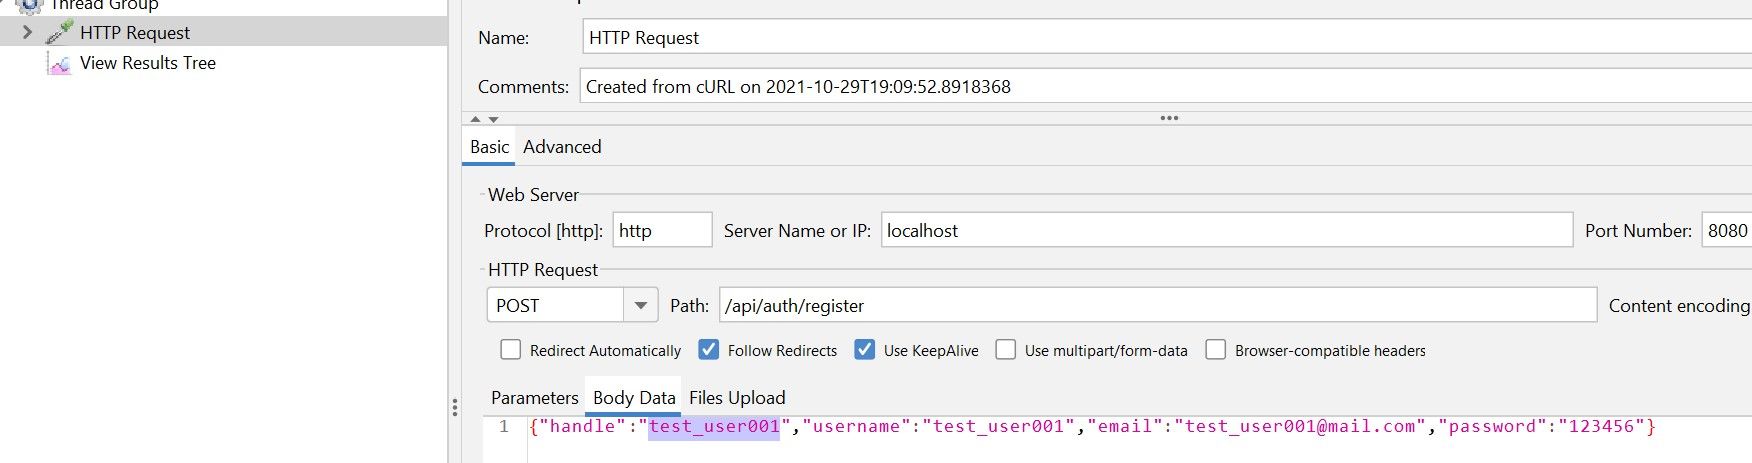
After changing the data, run the test again
The test is right what we expected now.
Voilà!
In the next article I will guide you how to change the data dynamically and assert the result to complete the test case.
See you soon.


