

Unit testing in React with Jest is a common practice to ensure the reliability and correctness of your components. Jest is a JavaScript testing framework that works seamlessly with React applications. Here's a step-by-step guide on how to set up and write unit tests for React components using Jest.
Step 1: Make sure you have Node.js and npm installed on your machine before you start.
npm install --save-dev jest @testing-library/react @testing-library/jest-dom
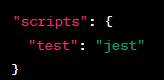
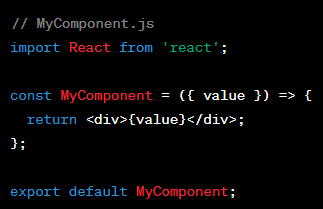
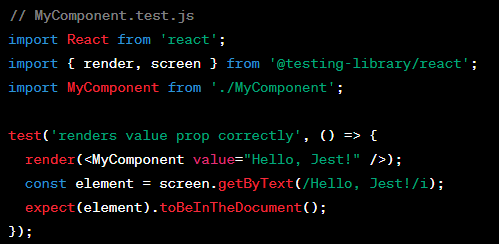
package.json fileStep 2: Create a test file with a .test.js extension in the same directory as your component. For example, if you have a component called MyComponent.js, create a file named MyComponent.test.js.
Step 3: Run test with npm test
- Use Jest's
describefunction to group related tests. - Use
beforeEachandafterEachto set up and clean up test conditions. - Mock external dependencies or modules using Jest's mocking capabilities.
- Explore Jest's snapshot testing for component snapshots.
Let's assume you have a component that makes an API call using a function like this
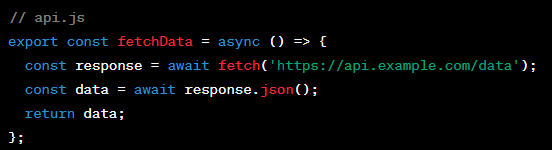

Let's write a unit test for this component using Jest to mock the fetchData function:
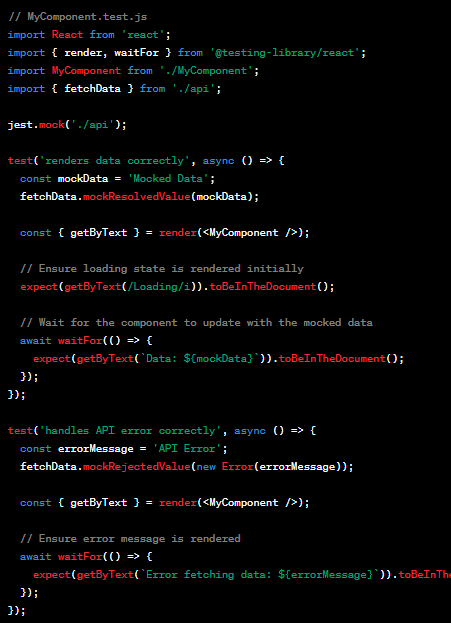
In these tests, jest.mock('./api') is used to mock the entire api.js module. You can then use mockResolvedValue and mockRejectedValue to control the behavior of the fetchData function in different test cases.
These tests check that the component renders the loading state correctly and handles both successful data fetching and API errors. The waitFor function is used to wait for asynchronous operations to complete before making assertions.