

Nowadays, software development has been evolved significantly, hence for that, the demand for code quality has been increased too. Beside making sure the programs working properly, it is crucial to test the durability as well as the performance of the service.
So what exactly is load testing and what is the benefit of running load testing ?
In a nutshell, it is a non-functional software testing process in which the performance of software application is tested under a specific expected load. It determines how the software application behaves while being accessed by multiple users simultaneously. The goal of Load Testing is to improve performance bottlenecks and to ensure stability and smooth functioning of software application before deployment.
As a developer, I love the quote of Mr. Linus Torvalds :
Talk is cheap show me the code
So let us dive in the code very quickly here. I will build a very simple API , the goal is to check the information of the input IP Address. I will use nestjs for this example.
First thing first, let's install nestjs-cli:
npm i -g @nestjs/cli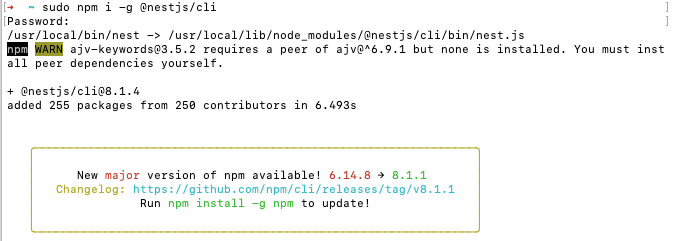
Initialize a project via nestjs cli:
nest new AwesomeProject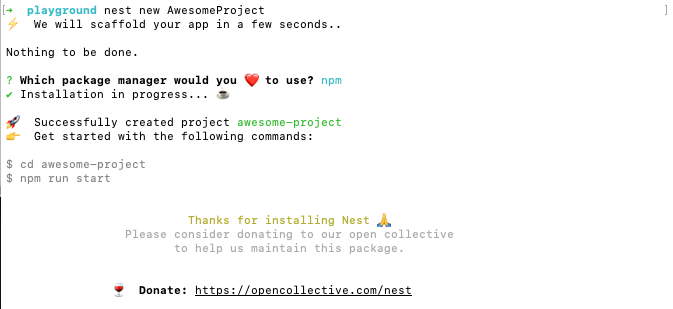
Great! Let's start up and we'll have our api ready:
npm run start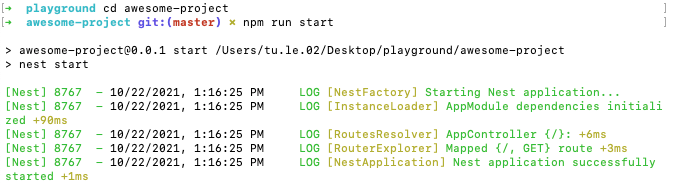
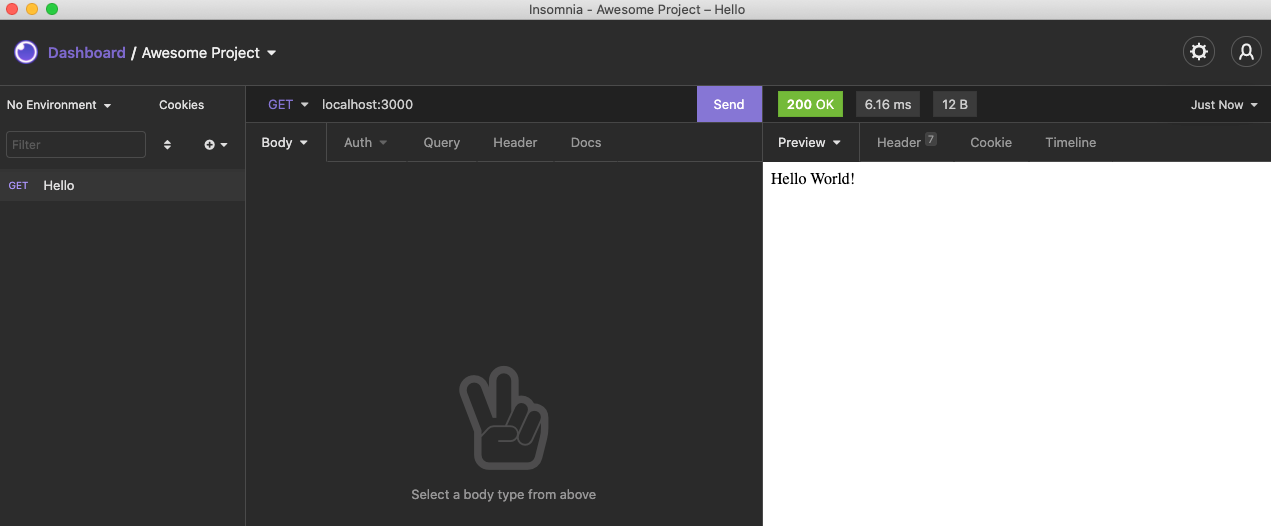
Let see our API in action. I personally use insomnia but you can use any software that familiar to you.
Now we implement our feature, I will use a public API: ipinfo.io to simulate a heavy process. Also we will need axios and https to call external API , so let's install some dependencies.

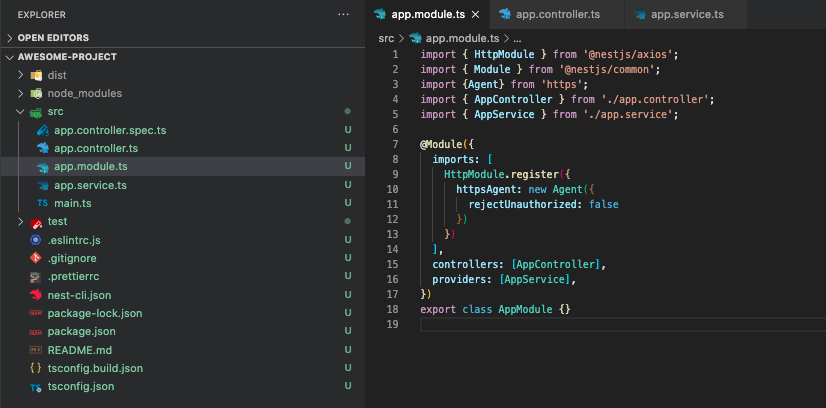
Let's start with our app.module:
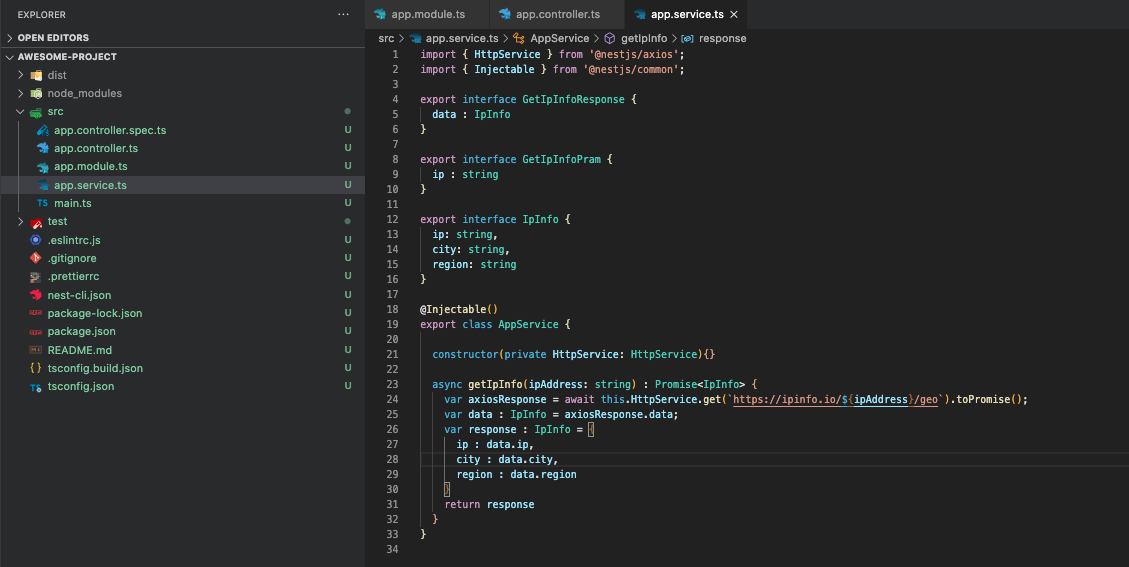
Update our app.service , I just forward the input ip address and ipinfo.io will do the hard work for me. Later on, I will transform the response a little bit to make it simple enough.
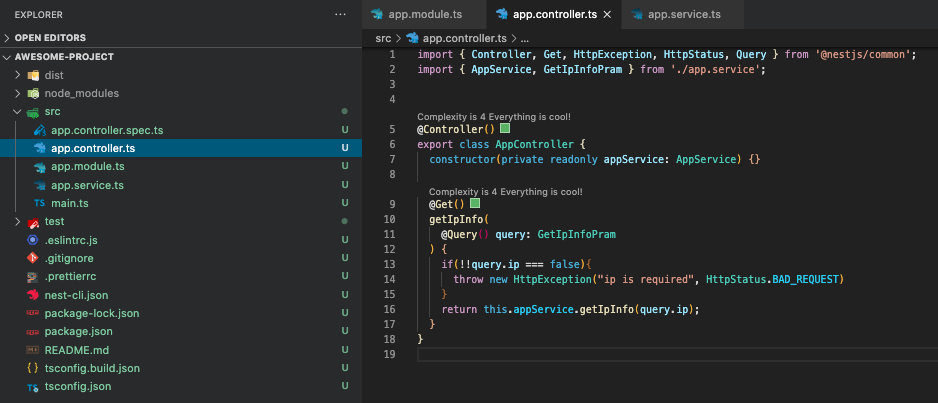
Update our app.controller using our service. The only validation is check for input IP, we can not run without it, right?
Everything seems clear enough, so let's try out the service:

The service is working as we expected, you can try out more on your own. So far we have the solid API to run our load test which is the main purpose of this article. Straight to the main point, let's install a tool to run load test, there are many tools such as: Apache Jmeter , Webload, K6,... In this article, I will use K6 due to its lightweight and moreover we can write test using javascript which is just the same for our application. Follow the instruction here if you using systems other than MacOS.
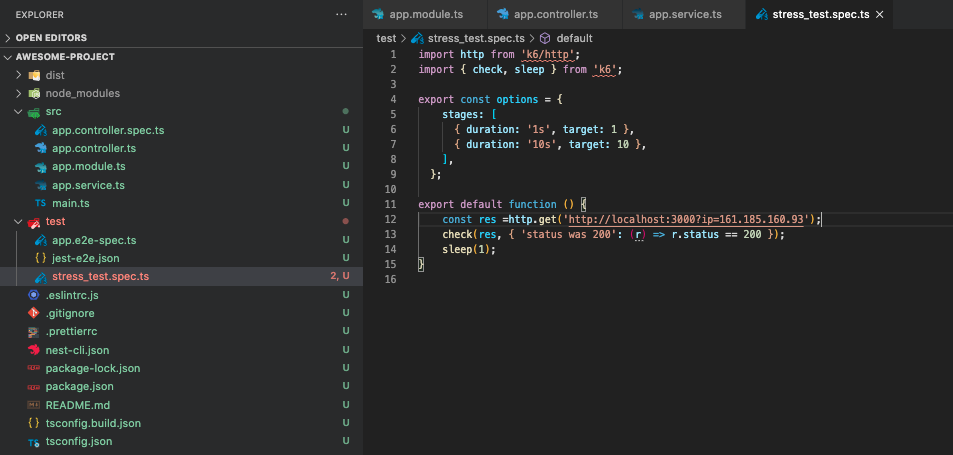
brew install k6Let's write some test. I will tweak it a little bit with stages to simulate the scenario where we have the peak of user. Let's see how is the performance of our API:
k6 run --summary-trend-stats="min,avg,med,p(99),p(99.9),max,count" --summary-time-unit=ms stress_test.spec.ts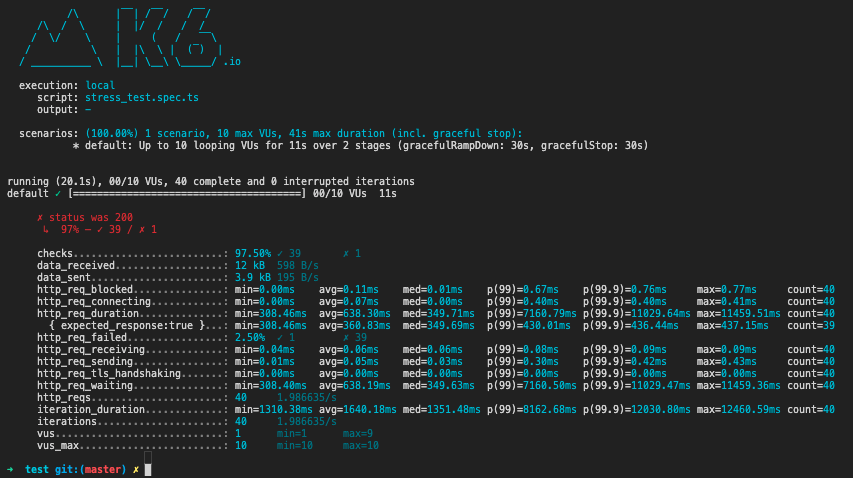
Although there is no logical mistake in our code, there is a chance that our service can not handle when the request reaches its peak. The first thing you can notice that there is 1 failure per 40 requests, which means that 2.5% of the requests that return the status code other than 200.
status was 200
	97% - 39 / 1
The main reason is that to every new request, we have to forward to ipinfo.io and retrieve back the data, even when the request does not change at all. When digging deeper, the response time is very slow, the maximum response time is approximately 10 seconds, which is extremely slow for such a basic API.
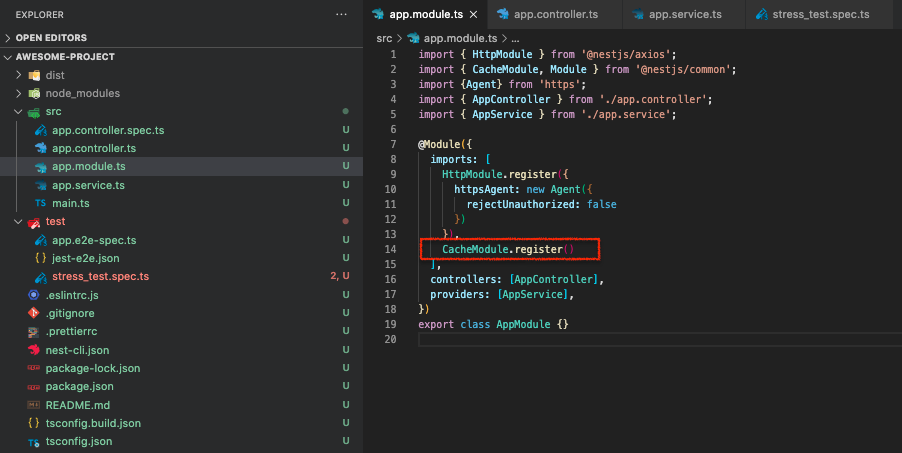
http_req_duration..............: min=0.84ms avg=332.27ms med=1.52ms p(99)=5897.11ms p(99.9)=9717.32ms max=10141.79ms count=46The easy way to improve the performance is to apply some caching method. NestJs provides an elegant way to do this. But we have to install some dependencies first.

Update our app.module to use CacheModule:
For testing purpose I will apply cache via the CacheInterceptor:
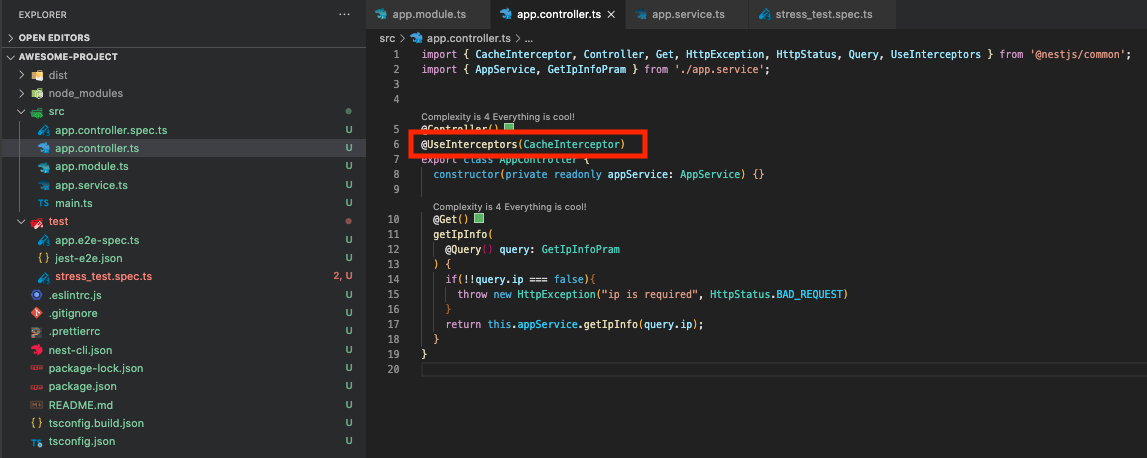
Ok everything is set, let's try out the test again:
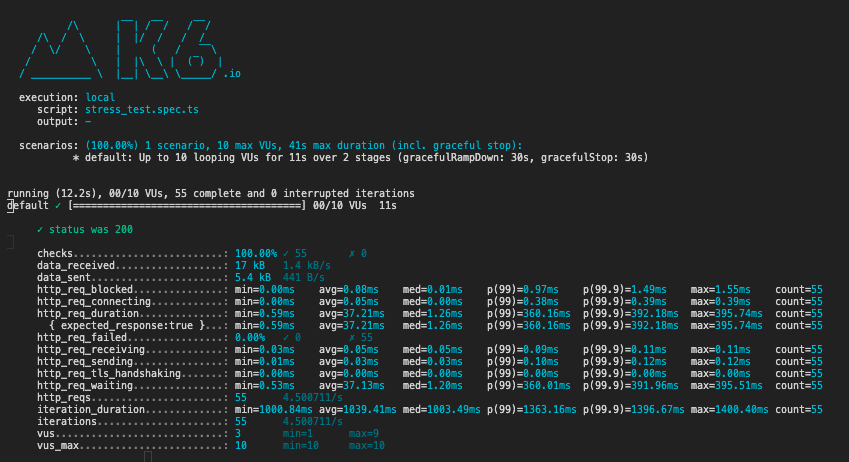
As you can see, there is no failed request anymore this time. Also the response time improved in all aspect, such as max and average response time dropped to around 400 ms, minimum dropped to 0.6ms. That is approximately 25 times faster, which is very impressive with just 2 extra lines of code.
So that's it for today. Hope this can help you with your development process. Thank you for reading.


