

In the previous article I have introduced the Cypress basic key features. Today I would like to show you how to use Cypress in action by integrate it with existing NextJS application.
NextJS application example
Introduction
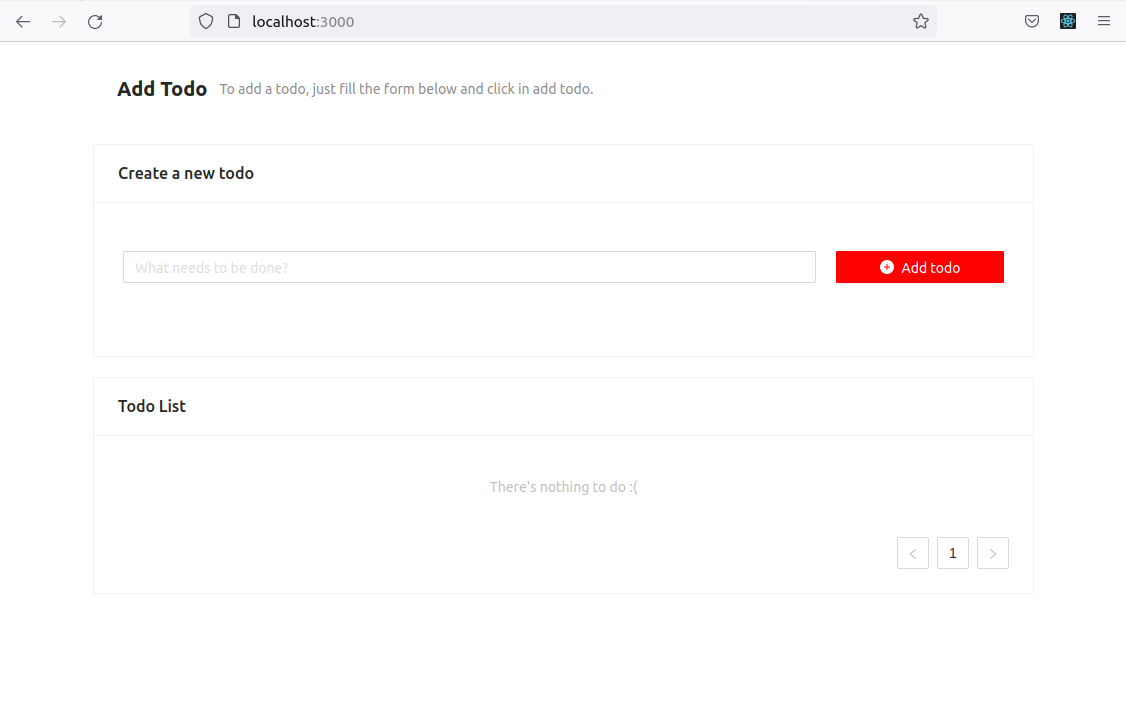
For demo I have created an ToDo List application with some basic features:
- Add new todo
- Toggle todo status
- Remove a todo
The source code is at Git repository: https://gitlab.shiftasia.com/gientran/todo-app-cypress-e2e
How to run
- Install packages:
npm install - Build application:
npm run build - Start application:
npm start
Then visit http://localhost:3000 to view the webpage.
Integrate Cypress
Install Cypress
Run the command (make sure turning off ShiftAsia VPN first):
npm install -D cypress
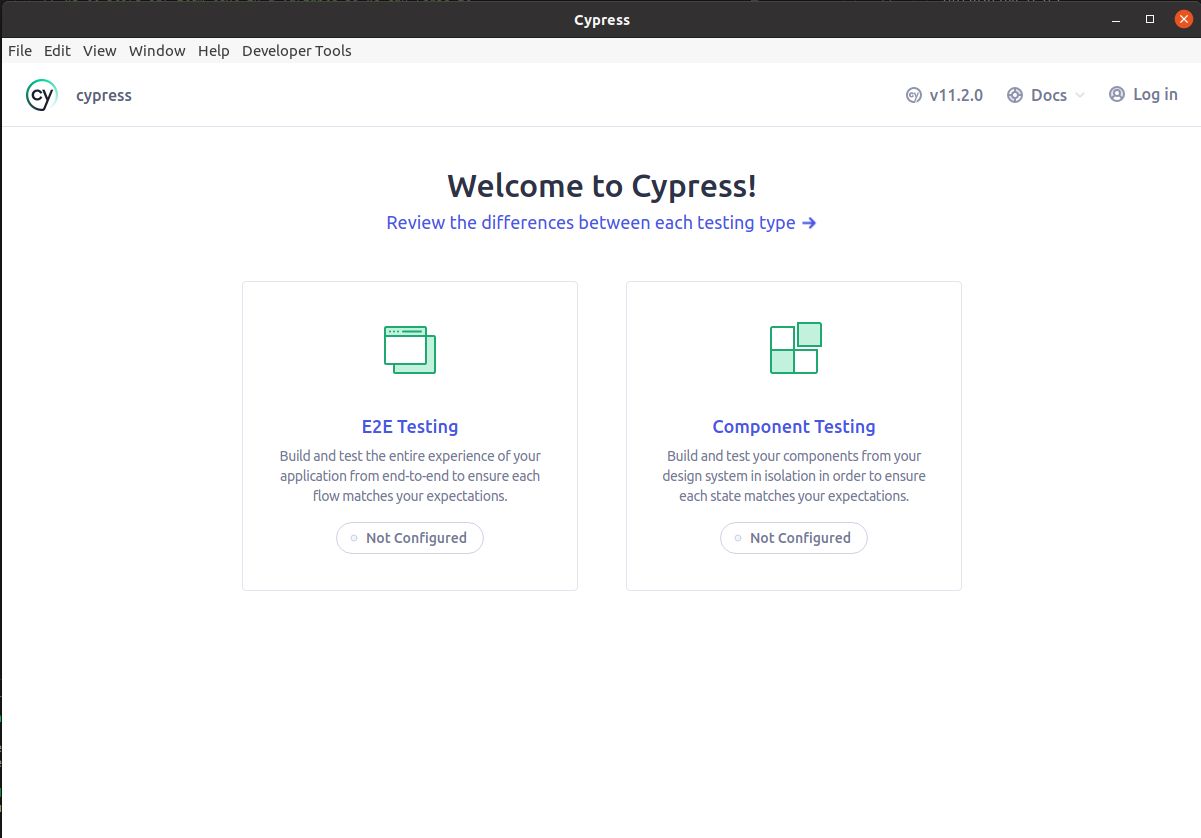
Start the Cypress GUI:
npx cypress open
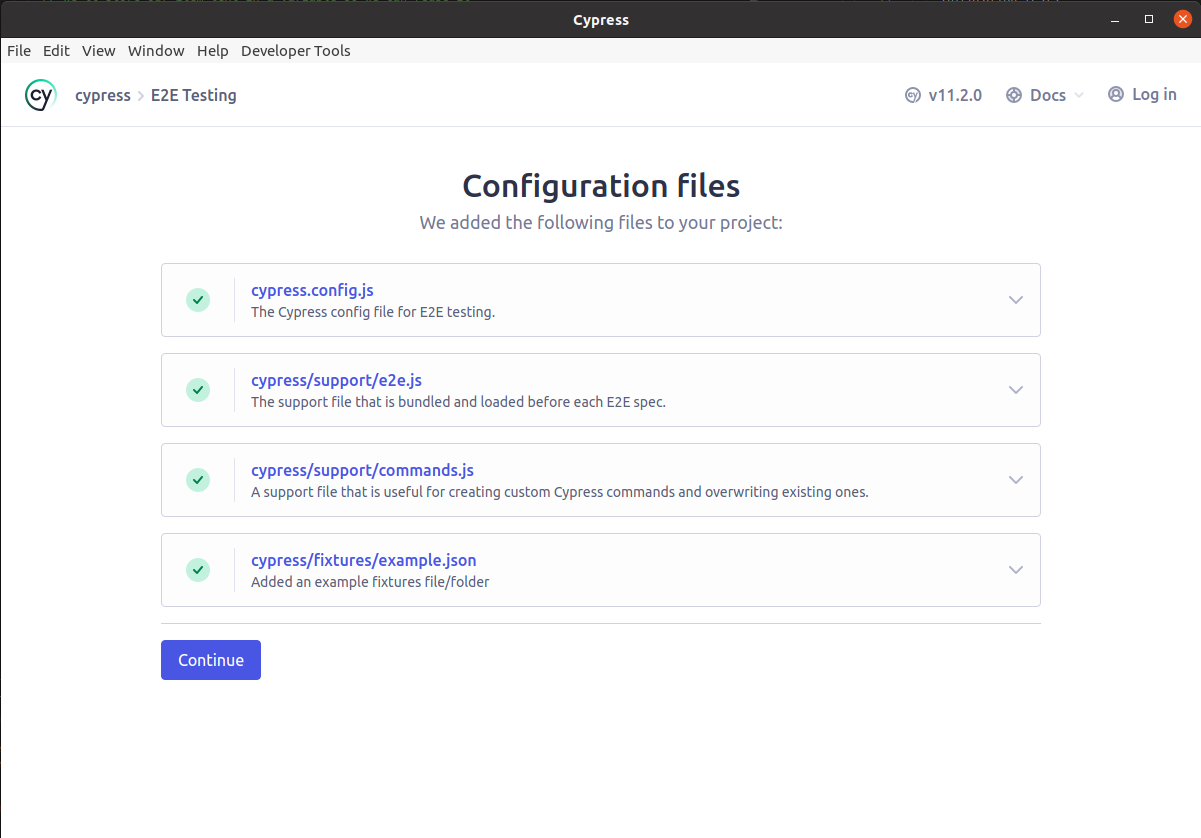
Select E2E Testing:
Click on Continue:
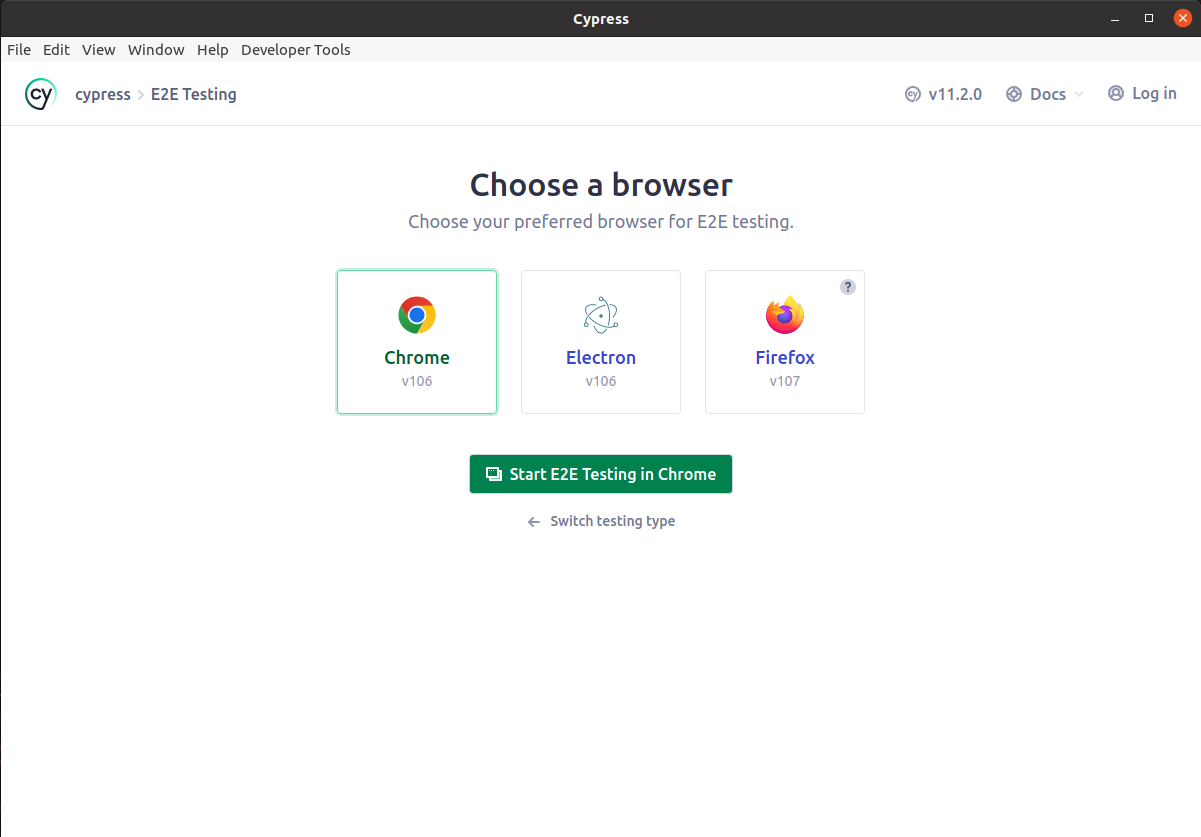
Now, you can select a browser for you tests. Select Chrome and click on Start E2E Testing in Chrome:
Install plugins
npm install -D cypress-slow-down cypress-real-events
- cypress-slow-down: by default the test execution is fast and it is hard to see what interactions happen on the UI, so this plugin allows us to set the speed of each interaction.
- cypress-real-events: Cypress default events are simulated. That means that all events like
cy.clickorcy.typeare fired from javascript. That's why these events will be untrusted (event.isTrustedwill befalse) and they can behave a little different from real native events. In this example the plugin helps us simulate "hover outside" the element.
Add custom clickOutSide Cypress command (simulate click out side event) by modifying the "cypress/support/commands.ts" file:
Cypress.Commands.add('clickOutSide', () => {
  return cy.get('body').click(0, 0);
})

declare global {
  namespace Cypress {
    interface Chainable {
      clickOutSide(): Chainable<JQuery<HTMLBodyElement>>
    }
  }
}

export {};
Enable cypress-real-events plugin by modifying the "cypress/support/e2e.ts" file:
import './commands'
import "cypress-real-events";
Write the test
Add a new folder cypress/e2e, this contains all your E2E tests
Add a new test file cypress/e2e/todo.cy.js
Enable cypress-slow-down plugin:
/// <reference types="cypress" />
import { slowCypressDown } from 'cypress-slow-down'
import 'cypress-slow-down/commands'
Add the test:
describe('example to-do app', () => {
  // the "before" block will be executed only once before all tests are executed
  before(() => {
    // go to the webpage
    cy.visit('http://localhost:3000')
    // set the speed of each command in 300ms
    cy.slowDown(300)
  })

  // the "after" block will be executed only once after all tests are executed
  after(() => {
    // rollback to normal speed
    cy.slowDownEnd()
  })

  // the "beforeEach" block will be executed before each test
  beforeEach(() => {

  })

  // the "afterEach" block will be executed after each test
  afterEach(() => {

  })

  // your tests are here...

  it('displays empty todo', () => {
    cy.get('.todo-list .todo-item').should('have.length', 0)
  })
})
cy.get is the most important command you should understand. This command has to be smarter and expect the application to potentially update. The cy.get() queries the application's DOM, finds the elements that match the selector, and then tries the assertion that follows it (in our case should('have.length', 2)) against the list of found elements.
- ✅ If the assertion that follows the
cy.get()command passes, then the command finishes successfully. - ? If the assertion that follows the
cy.get()command fails, then thecy.get()command will re-query the application's DOM again. Then Cypress will try the assertion against the elements yielded fromcy.get(). If the assertion still fails,cy.get()will try re-querying the DOM again, and so on until thecy.get()command timeout is reached.
The all APIs/commands can be found here: https://docs.cypress.io/api/commands/get
Debug the Cypress test
Open Cypress GUI:
npx cypress open
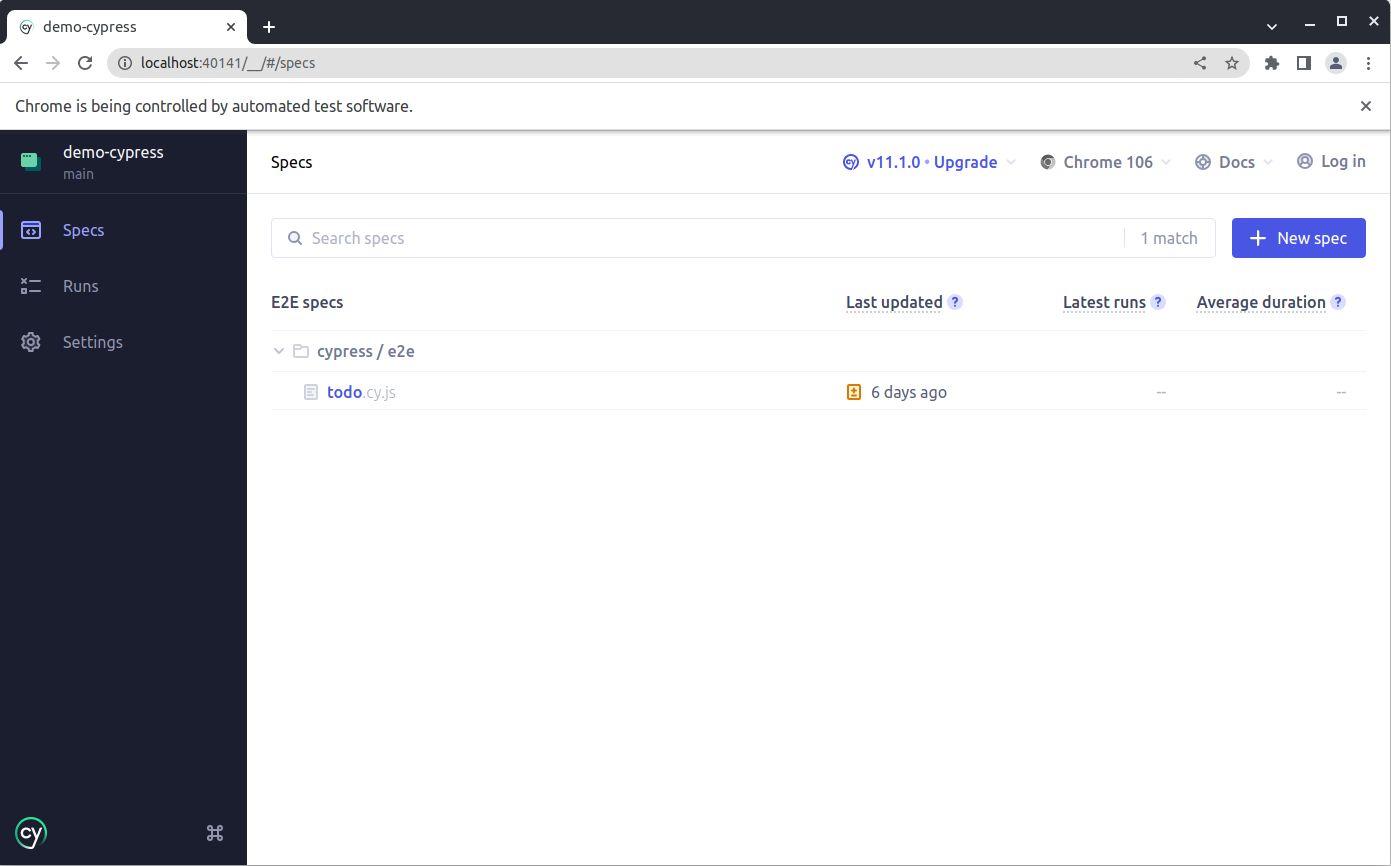
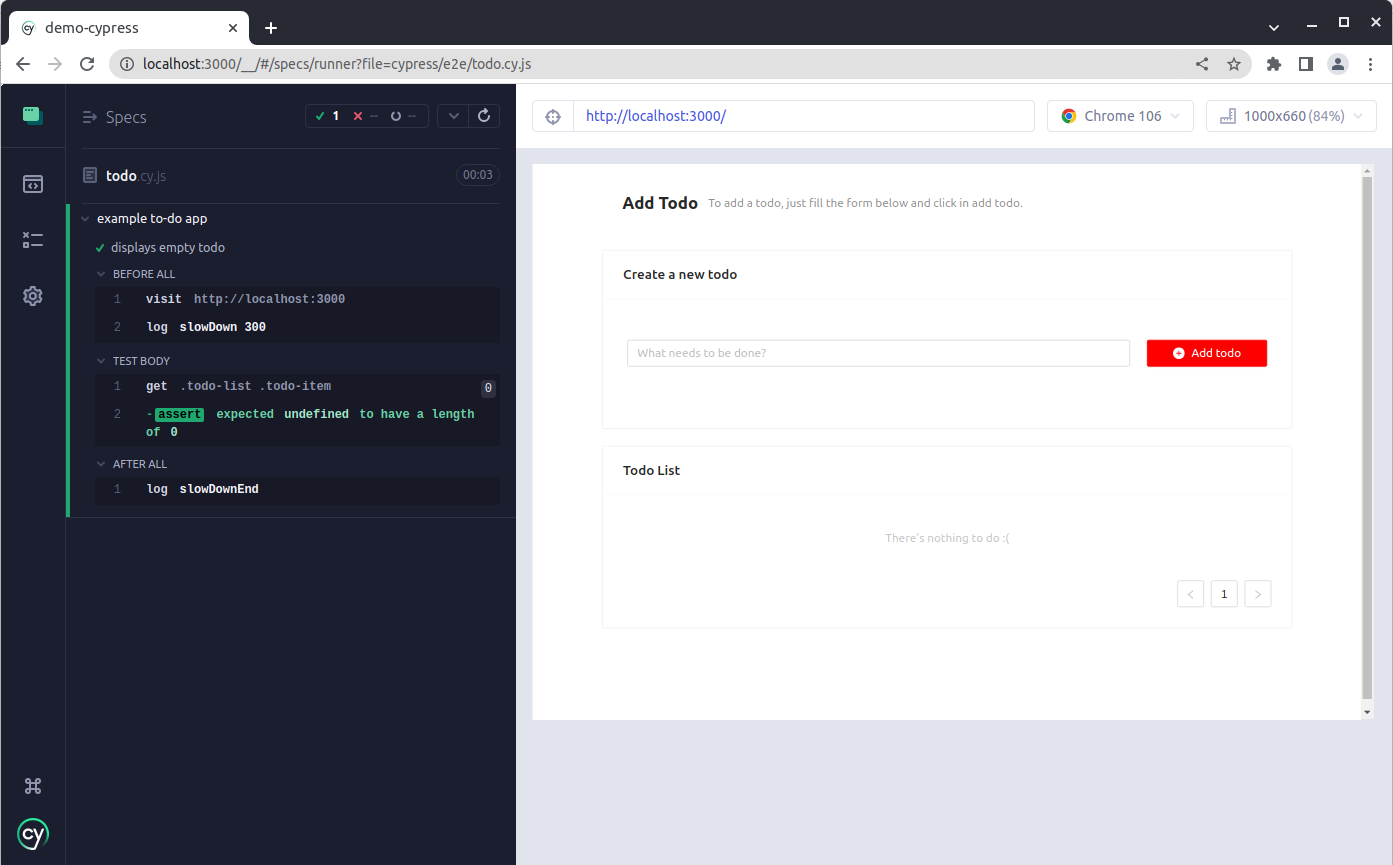
Now you can see your test that was created in previous step, click on todo.cy.js test:
The test will be executed immediatly, now your test is passed:
That's all how to debug a simple test. I have added a full test flow in branch: cypress-integration, check-out and execute the test by yourself.
Execute the test in shell
Run the command:
npx cypress run
Cypress will execute the tests in a headless browser (Chrome, Electron, Firefox) and you can specify which browser you want to test with flag --browser.
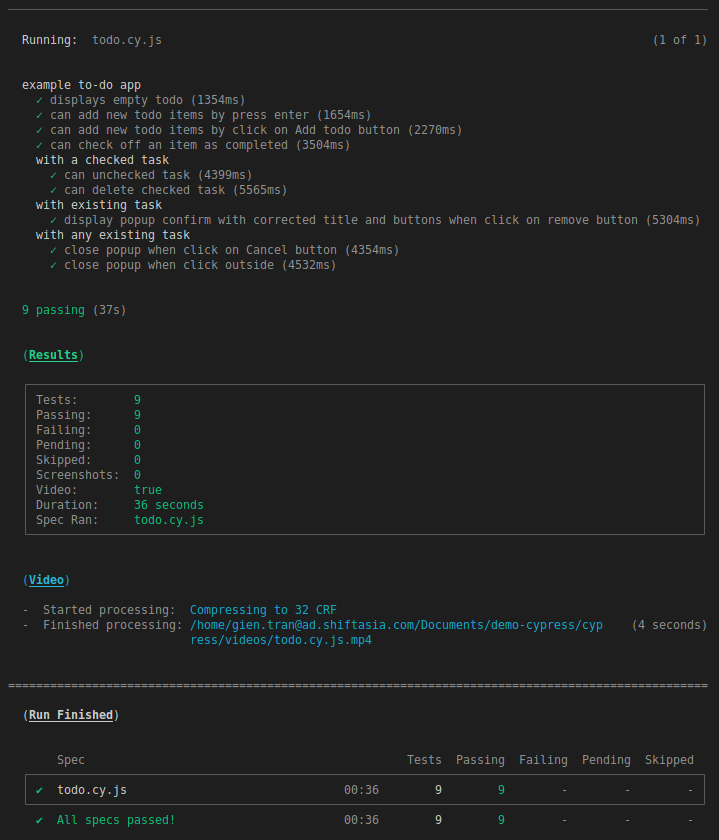
One of the features I love the most is video record, it records how UI interaction when running tests. After above tests execution, a video is available at cypress/videos folder.
Conclusion
I hope you all have the basic knowledge about Cypress integration to an existing application.
Thanks for reading.