


In this article, we will talk about how to write your first Flutter application on Apple Silicon. One of the benefits of this post is how to structure your project on Flutter project. It help build widgets or screens consistent, or make an app easy to maintain
Before move to setup session, your environment have to meet the minimum requirements:
- Apple silicon processor (M1 or M2)
- Free disk space, preferably over 2.8GB
- Git installed
- Xcode installed
- Visual Studio Code installed
Setup
- Download Flutter SDK with the URL below:
- Extract previous download file
- Add Flutter tool to your path:
export PATH="$PATH:`pwd`/flutter/bin"
- Upgrade Flutter
flutter upgrade
- Run Flutter Doctor
flutter doctor
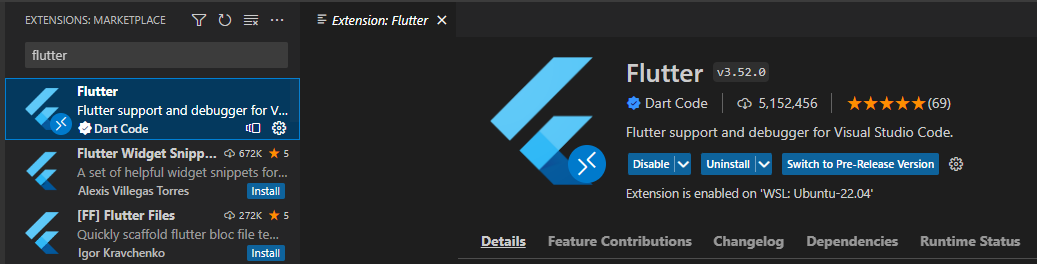
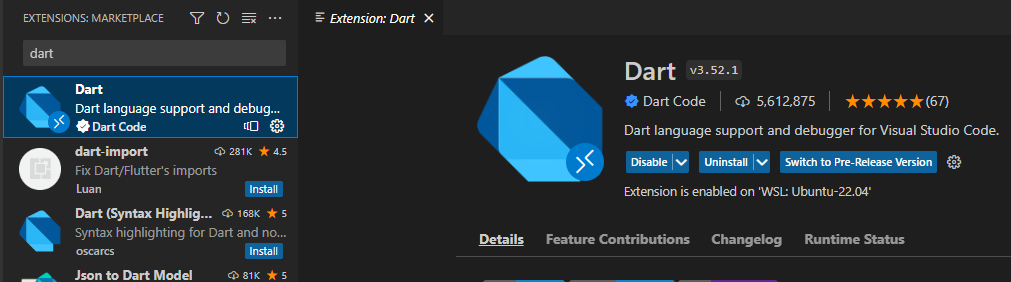
- Install Flutter/Dart plugins into VS code
- Validate VS code with the Flutter Doctor
- Invoke View > Command Palette….
- Type “doctor”, and select the Flutter: Run Flutter Doctor.
- Review the output in the OUTPUT pane for any issues. Make sure to select Flutter from the dropdown in the different Output Options.
- Create project
flutter create first_flutter_app
cd first_flutter_app
flutter run
Before writing code, we should learn how to structure your project. This ensure that the team members can follow a clear convention and add a new feature is consistent.
Project Structure
lib
+-- actions
|   +-- base
|   |   +-- base_model.dart
|   |   +-- base_service.dart
|   +-- home
|   |   +-- home_model.dart
|   |   +-- home_service.dart
+-- components
|   +-- app_bar.dart
|   +-- button.dart
+-- constants
|   +-- palette.dart
|   +-- api_end_point.dart
+-- helpers
|   +-- crud_base.dart
+-- I10n
|   +-- app_en.arb
|   +-- app_jp.arb
|   +-- support_locale.dart
|   +-- base.dart
+-- providers
|   +-- local_provider.dart
+-- reducers
|   +-- app_state.dart
|   +-- reducer.dart
|   +-- selectors.dart
+-- saga
|   +-- index.dart
+-- screen
|   +-- home
|   |   +-- home_screen.dart
|   |   +-- home_view_model.dart
|   |   +-- home.dart
+-- utilities
+-- app.dart
+-- I10n.yaml
+-- main.dart
If you have knowledge about OOP and basic programming concept. Move on writing code on Flutter now.
Writing You First App
pubspec.yaml
name: first_flutter_app
description: A new Flutter Project

publish_to: none

version: 1.0.0+1

environment:
  sdk: ">=2.17.6 <3.0.0"

dependencies
  flutter:
    sdk: flutter
  flutter_localizations:
    sdk: flutter

  cupertino_icon: ^1.0.2
  get: ^4.6.5
  http: ^0.13.5
  redux: ^5.0.0
  redux_saga: ^3.0.6
  flutter_redux: ^0.10.0
  intl: ^0.17.0
  loading_gifs: ^0.3.0
  localstorage: ^4.0.0+1
  provider: ^5.0.0
  timeline_tile: ^2.0.0

dev_dependencies:
  flutter_test:
    sdk: flutter

  flutter_lints: ^2.0.0

flutter:
  uses-material-design: true
  generate: true
  assets:
    - assets/images/
analysis_options.yaml
include: package:flutter_lints/flutter.yaml

linter:
  rules:
    prefer_single_quotes: true
main.dart
Store<AppStore> configureStore() {
  SagaMiddleware sagaMiddleware = createSagaMiddleware();

  final store = Store<AppState>(
    appReducer,
    initialState: AppState.initial(),
    middleware: [
      applyMiddleware(sagaMiddleware),
    ],
  );

  sagaMiddleware.setStore(store);
  sagaMiddleware.run(rootSaga);

  return store;
}

void main() sync {
  Store<AppState> store = configureStore();

  await store.dispatch(GetAccessTokenByAccessTokenRequest());

  runApp(App(store: store));
}
app.dart
class App extends StatelessWidget {
  final Store<AppState> store;

  App({required this.store}) : super();

  @override
  Widget build(BuildContext context) {
    return ChangeNotifierProvider(
      create: (context) => LocaleProvider(),
      child: Consumer<LocaleProvider>(
        builder: (context, localeProvider, child) => StoreProvider<AppState>(
          store: store,
          child: MateialApp(
           title: "First Flutter App",
           them: ThemData(
             appBarTheme: AppBarTheme(
               color: Palette.primary,
             )
           ),
           localizationsDelegates: [
             AppLocalizations.delegate,
             GlobalWidgetsLocalizations.delegate,
             GlobalCupertinoLocalizations.delegate
           ],
           locale: localeProvider.locale,
           supportedLocales: L10n.support,
           initialRouter: '/',
           routes: {
             '/': (context) => const Home(),
           },
           onUnknownRoute: (RouteSettings setting) {
             return MaterialPageRoute(builder: (context) => NotFound());
           }
          )
        )
      )
    )
  }
}
home_screen.dart
class HomeScreen extends State<Home> {
@override
void initState() {
super.initState();
}
@override
Widget build(BuildContext context) {
return StoreConnector<AppState, HomeViewModel>(
converter: HomeViewModel.fromStore,
builder: (context, vm) {
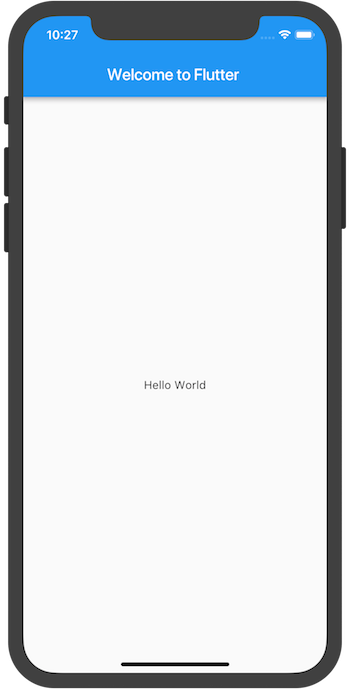
return MaterialApp(
title: 'Welcome to Flutter',
home: Scaffold(
appBar: AppBar(
title: const Text('Welcome to Flutter'),
),
body: const Center(
child: Text('Hello World'),
),
),
);
}
)
}
}
home_view_model.dart
class HomeViewModel {
  HomeViewModel();

  static HomeViewModel fromStore(Store<AppState> store) {
    return HomeViewModel();
  }
}
home.dart
class Home extends StatefulWidget {
  const Home({Key? key}): super(key: key);

  @override
  State<Home> createState() => HomeScreen();
}
saga/index.dart
rootSaga() sync* {
}
app_state.dart
@immutable
class AppState {
  const AppState({});

  factory AppState.initial() {
    return AppState();
  }
}
reducer.dart
AppState appReducer(AppState state, action) {
  return AppState();
}
I10n.yaml
arb-dir: lib/l10n
template-arb-file: app_en.arb
output-localization-file: app_localizations.dart
app_en.arb
{
  "hello": "Hello"
}
app_jp.arb
{
  "hello": "こんにちは"
}
locale_provider.dart
class LocaleProvider with ChangeNotifier {
  Locale? _locale;
  Locale? get locale => _locale;

  void setLocale(Locale loc) {
    if (!L10n.support.contains(loc)) return;

    _locale = loc;
    notifyListeners();
  }

  void clearLocale() {
    _locale = null;
    notifyListeners();
  }
}
support_locale.dart
class L10n {
  static const List<Locale> support = [Locale("en"), Locale("jp")];
}
palette.dart
class Palette {
  static const Color primary = Color(0xFF004FC7);
}
Running Flutter App
Flutter has many different build mode to run your application: Debug, Profile, Release. You should write configuration on .vscode/launch.json
{
  "version": "0.2.0",
  "configuration": [
    {
      "name": "First Flutter App",
      "cwd": "Flutter/first_flutter_app",
      "request": "launch",
      "type": "Dart"
    },
    {
      "name": "First Flutter App (profile mode)",
      "cwd": "Flutter/first_flutter_app",
      "request": "launch",
      "type": "Dart",
      "flutterMode": "profile"
    },
    {
      "name": "First Flutter App (release mode)",
      "cwd": "Flutter/first_flutter_app",
      "request": "launch",
      "type": "Dart",
      "flutterMode": "release"
    }
  ]
}
Then, run application from supported VS code. Your application should be start with hot reload that feature feature helps you quickly and easily experiment, build UIs, add features, and fix bugs.
- Hot reload:
^F5 - Hot restart:
⇧⌘F5 - Full restart: There is no specific keyboard shortcut for this; you need to stop and start the run configuration.
That's it, thank you for reading!