

In this blog post, we'll walk through the step-by-step process of creating a Next.js application with Keycloak as the authentication provider.
We'll use Docker to simplify the Keycloak setup. Let's dive in!
Setting Up Keycloak with Docker
Keycloak is an open-source identity and access management solution. We'll start by running it using Docker.
Create a file named docker-compose.yml with the following content
version: '3.8'

services:
  keycloak:
    image: quay.io/keycloak/keycloak:latest
    container_name: keycloak
    environment:
      KEYCLOAK_ADMIN: admin
      KEYCLOAK_ADMIN_PASSWORD: admin
    command: ["start-dev"]
    ports:
      - "8080:8080"
Run the Container
docker-compose up -d
Access Keycloak: http://localhost:8080
- Username: admin
- Password: admin
Configuring Keycloak
- Create a Realm: myrealm
- Add a Client: my-nextjs-client
- Client Type: OpenID Connect
- Redirect URL: http://localhost:3000/api/auth/callback/keycloak - Create a Test User
Setting Up Next.js Blog App
Next, let’s create our Next.js application.
npx create-next-app my-app --ts
cd my-app
yarn add next-auth @next-auth/keycloak
Configure NextAuth for Keycloak
src/app/api/auth/[...nextauth]/route.ts
import NextAuth from "next-auth";
import KeycloakProvider from "next-auth/providers/keycloak";

export default NextAuth({
  providers: [
    KeycloakProvider({
      clientId: process.env.KEYCLOAK_CLIENT_ID!,
      clientSecret: process.env.KEYCLOAK_CLIENT_SECRET!,
      issuer: `${process.env.KEYCLOAK_URL}/realms/${process.env.KEYCLOAK_REALM}`,
      authorization: {
        params: {
          scope: "openid profile email",
        },
      },
    }),
  ],
  callbacks: {
    async jwt({ token, account }) {
      if (account) token.accessToken = account.access_token;
      return token;
    },
    async session({ session, token }) {
      session.accessToken = token.accessToken;
      return session;
    },
  },
  secret: process.env.NEXTAUTH_SECRET,
});
Environment Variables:
# .env.local
NEXTAUTH_URL=http://localhost:3000
NEXTAUTH_SECRET=your_nextauth_secret
KEYCLOAK_URL=http://localhost:8080
KEYCLOAK_REALM=myrealm
KEYCLOAK_CLIENT_ID=my-nextjs-client
KEYCLOAK_CLIENT_SECRET=your_keycloak_client_secret
src/app/components/SessionProvider.tsx
"use client";

import { SessionProvider as NextAuthSessionProvider } from "next-auth/react";
import { ReactNode } from "react";
import { Session } from "next-auth";

interface Props {
  children: ReactNode;
  session?: Session | null;
}

export default function SessionProvider({ children, session }: Props) {
  return (
    <NextAuthSessionProvider session={session}>
      {children}
    </NextAuthSessionProvider>
  );
}
src/app/layout.tsx
import SessionProvider from "@/components/SessionProvider";

export default function RootLayout({
  children,
  session,
}: {
  children: React.ReactNode;
  session?: any;
}) {
  return (
    <html lang="en">
      <body>
        <SessionProvider session={session}>{children}</SessionProvider>
      </body>
    </html>
  );
}
src/app/page.tsx
"use client";
import { useSession, signIn, signOut } from "next-auth/react";
import { useEffect, useState } from "react";
export default function Home() {
const { data: session } = useSession();
return (
<div className="p-6 text-center">
{session ? (
<>
<h1 className="text-xl mb-4">Hello, {session.user?.name}</h1>
<p>{session.user?.id}</p>
<p>{session.user?.email}</p>
<button
onClick={() => signOut()}
className="bg-red-500 text-white px-4 py-2 rounded"
>
Sign Out
</button>
</>
) : (
<button
onClick={() => signIn("keycloak")}
className="bg-blue-500 text-white px-4 py-2 rounded"
>
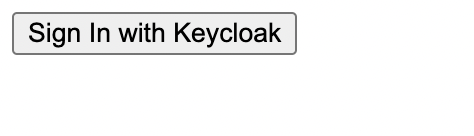
Sign In with Keycloak
</button>
)}
</div>
);
}
Run the Application:
Start Next.js
yarn run dev
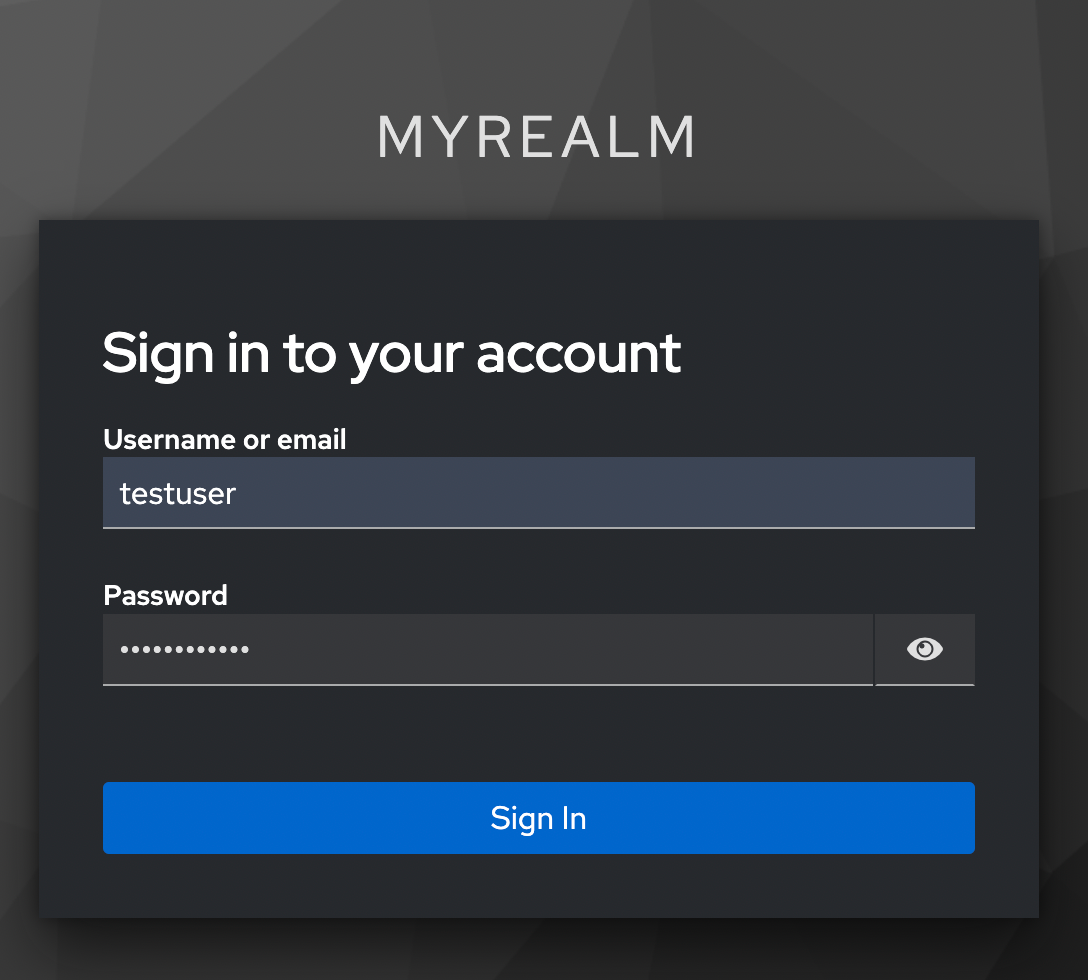
Testing Authentication Flow
Visit: http://localhost:3000
- Click Login with Keycloak
2. Keycloak will authenticate and redirect you to the protected page.
3. You will see the ID and email after login is successful.

Key Insights
- Keycloak provides robust identity and access management.
- NextAuth integrates seamlessly with Keycloak.
- Secure API calls with Bearer tokens.
Congratulations
You’ve built a secure, authenticated using Next.js, Keycloak, and Docker. Happy coding!