Summary
Step 1 - Download and Install Java Development Kit(JDK-11)
Step 2 - Download and Install Eclipse
Step 3 - Download Selenium WebDriver Libraries
Step 4 - Configuring Selenium WebDriver with Eclipse
Step 5 - Download ChromeDriver
Step 6 - Creating and Running the first test with Selenium and Java
Details
There is one tool that comes to mind when anyone thinks of automating the testing of web applications that is Selenium. Selenium is just not only open source but also a portable framework for web applications that supports Java, Ruby, C#, Python... However, a majority (67%) of the Selenium users prefer Java as their language for Selenium Testing.
Going ahead, let’s learn Selenium with Java to run automated tests.
Step 1 - Download and Install Java Development Kit(JDK-11)
Step 1.1 - Download JDK-11
■ Open this below link:
Link: https://www.oracle.com/java/technologies/javase/jdk11-archive-downloads.html
Download JDK install file according to the Windows, Linux, or macOS platform being used.
Because of using MacOS, I will download "jdk-11.0.17_macos-aarch64_bin.dmg"
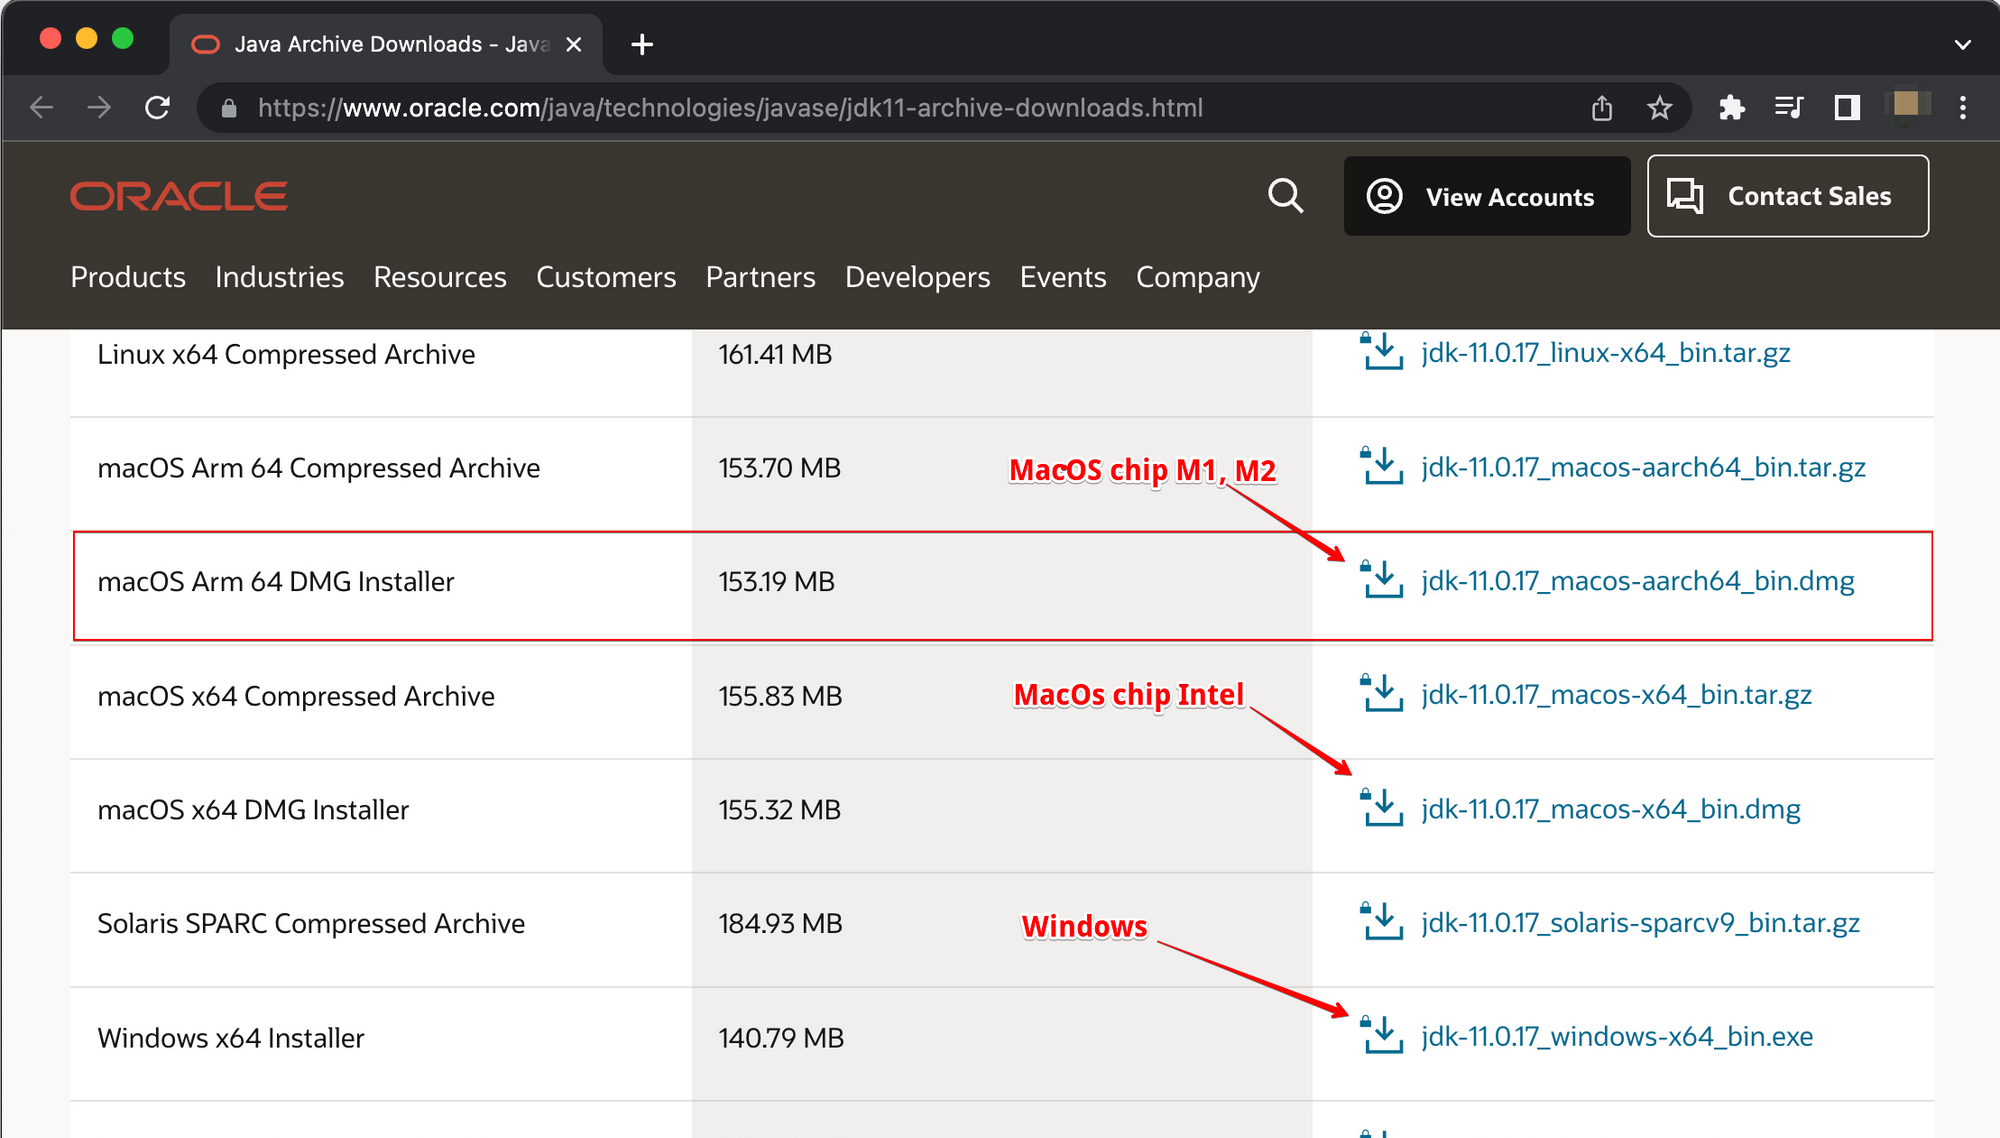
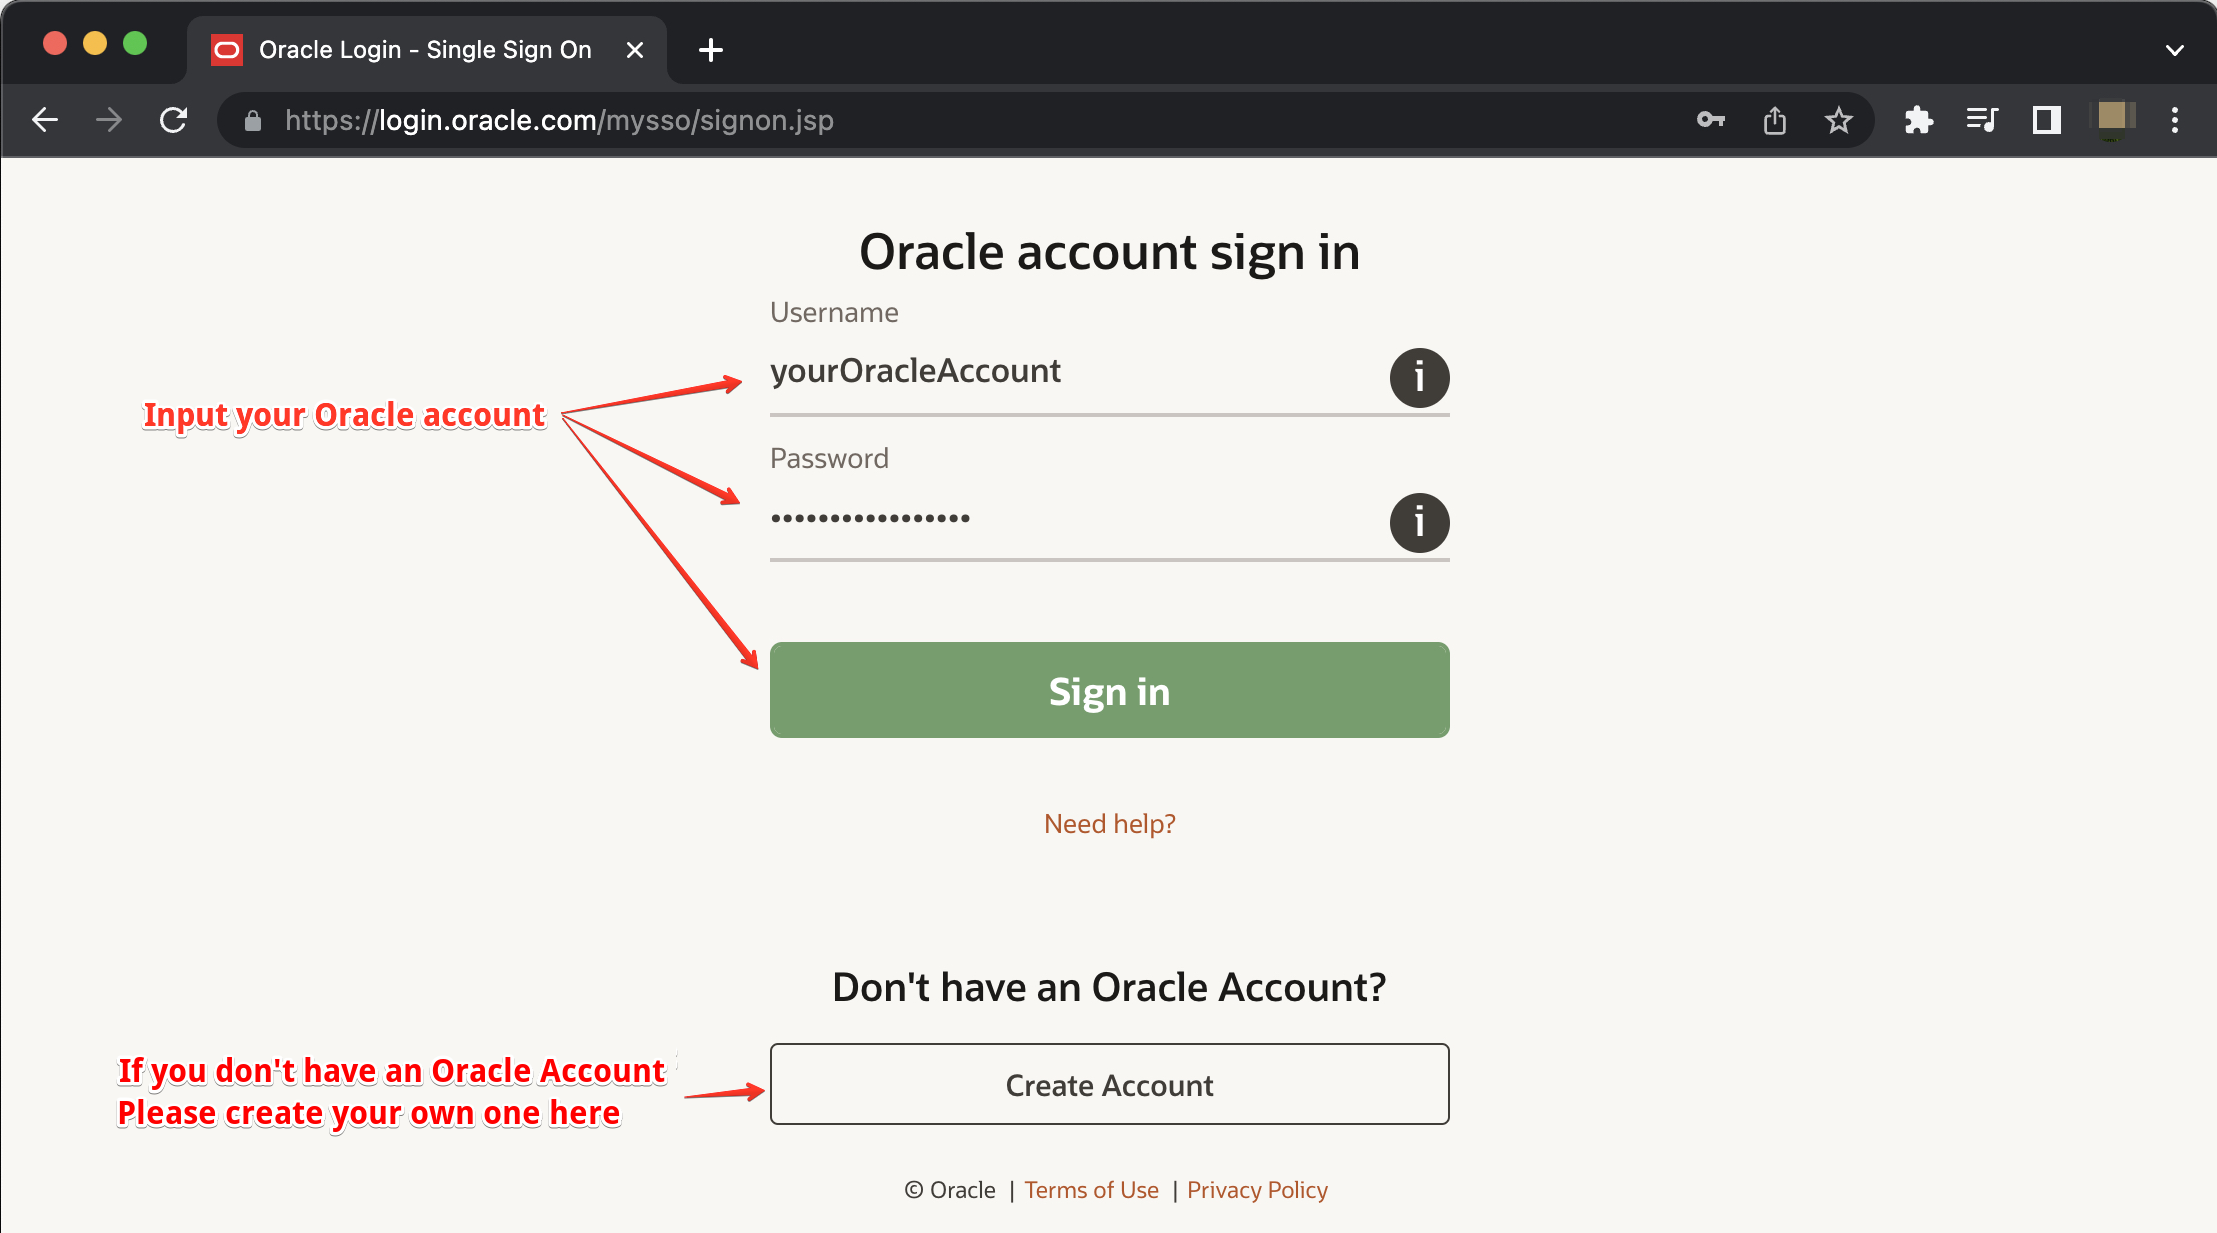
■ Enter your Oracle account and Sign In to download
Step 1.2 - Install JDK-11
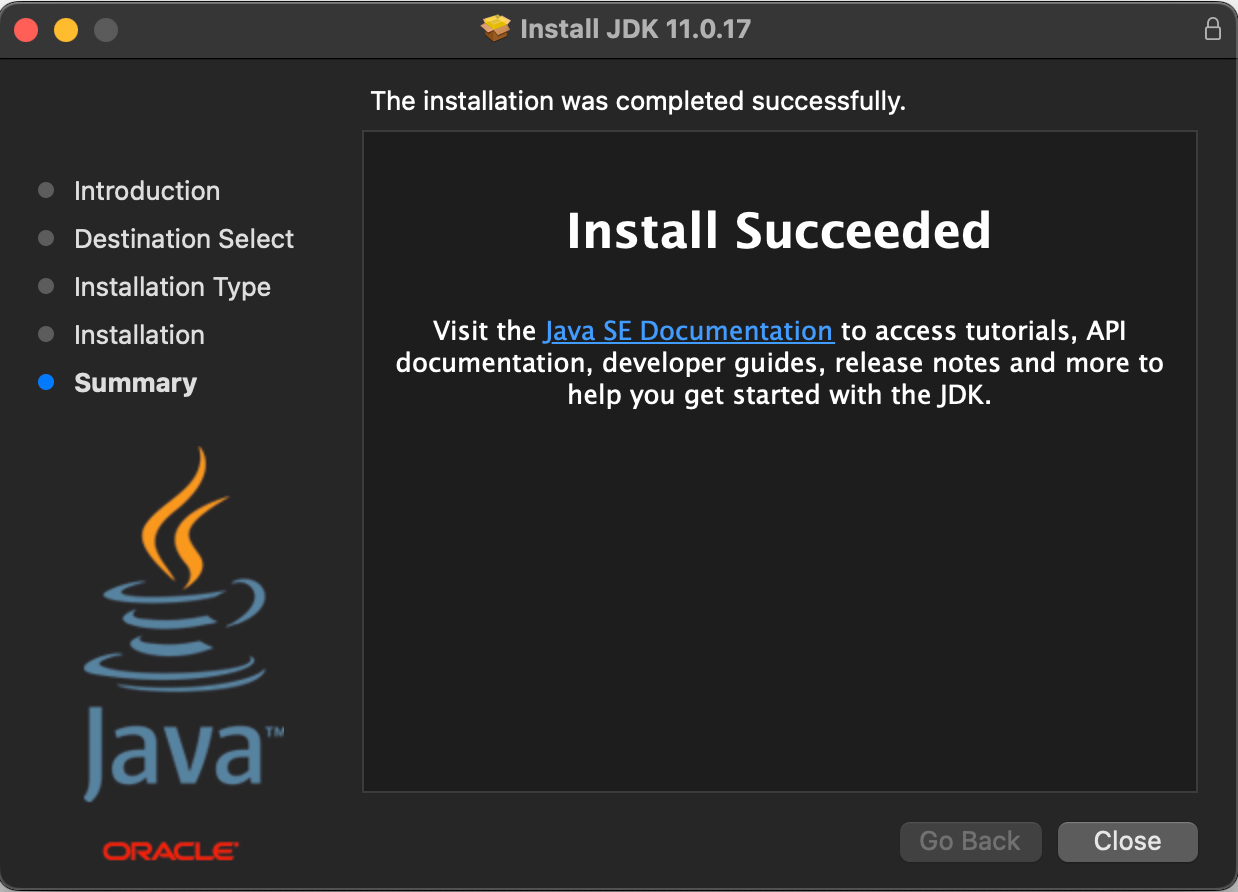
■ Double click to download the below file to install JDK-11. (Then double click to icon → click Continue → click Install)
Note: You might be asked to enter password or Touch ID to finish installing.

■ JDK 11 is installed successfully
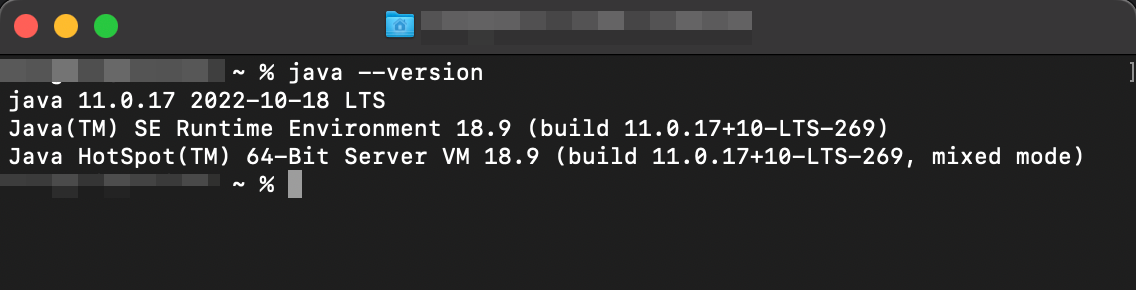
■ Check your installed java version
Open Terminal and enter "java --version"
Step 2 - Download and Install Eclipse
Step 2.1 - Download Eclipse
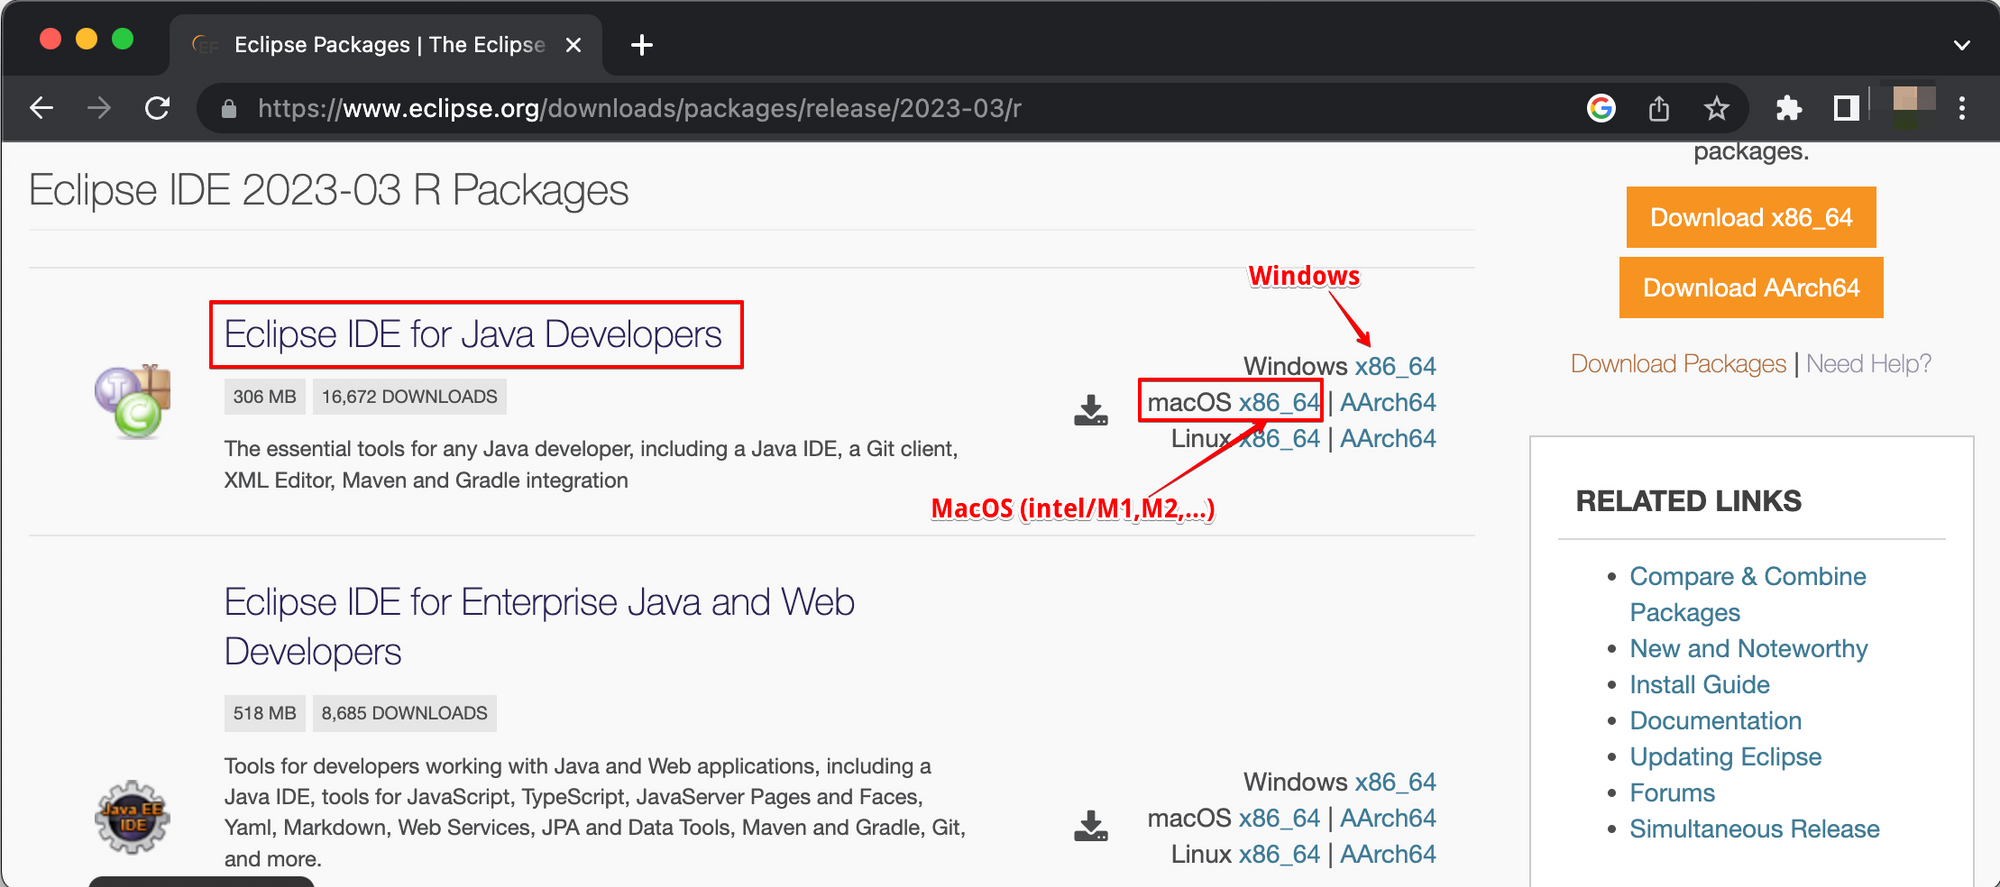
■ Open this below link
Link: https://www.eclipse.org/downloads/packages/release/2023-03/r
■ Download Eclipse IDE for Java Developers
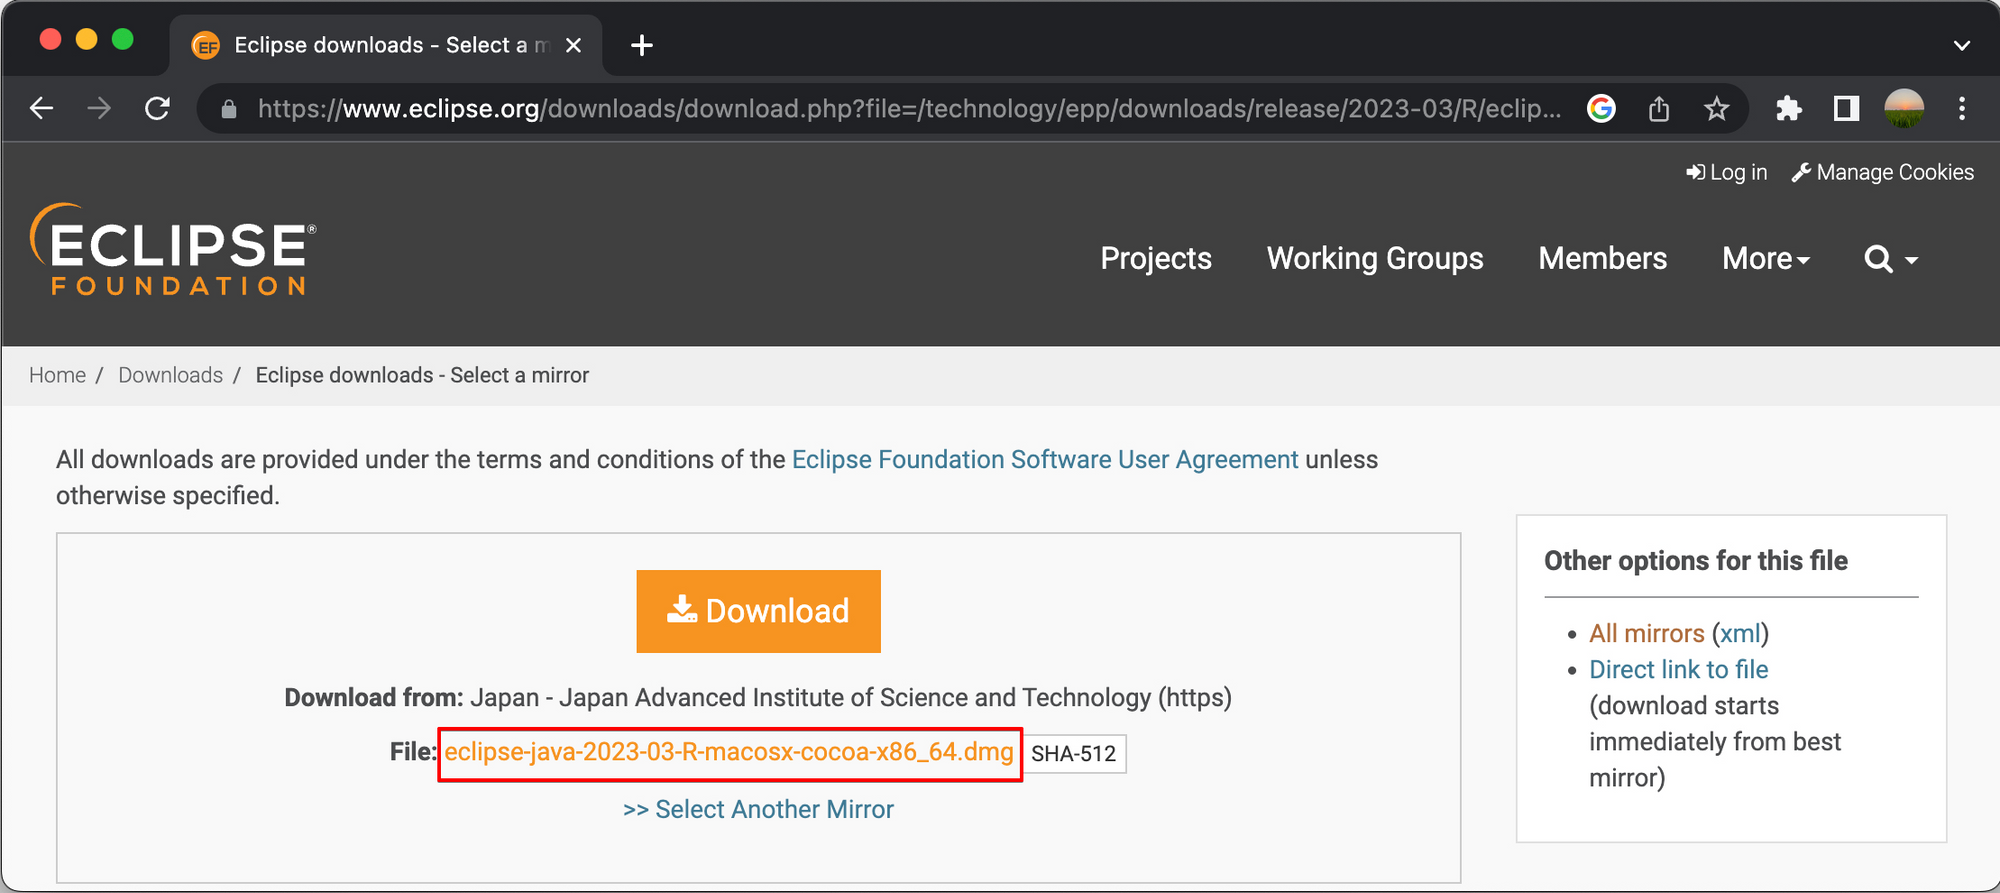
Step 2.2 - Install Eclipse
■ Double click to download the below file to install Eclipse.

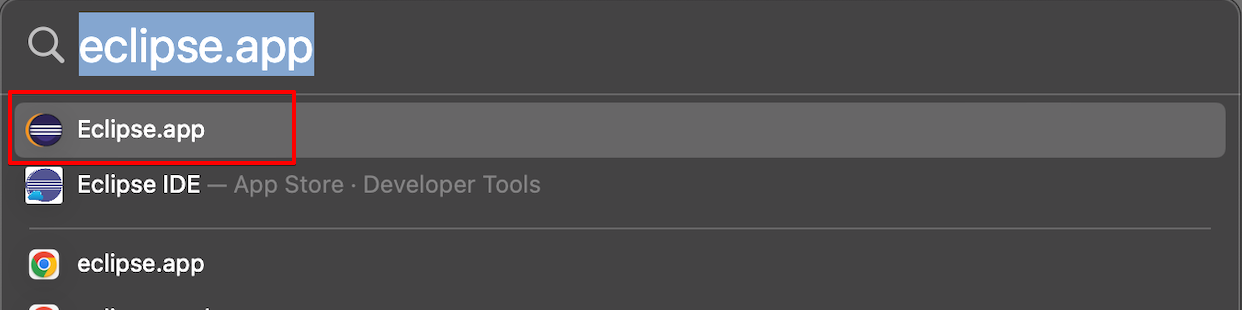
■ Open Eclipse
- Hit Command + space and enter "Eclipse" + Enter to launch Eclipse
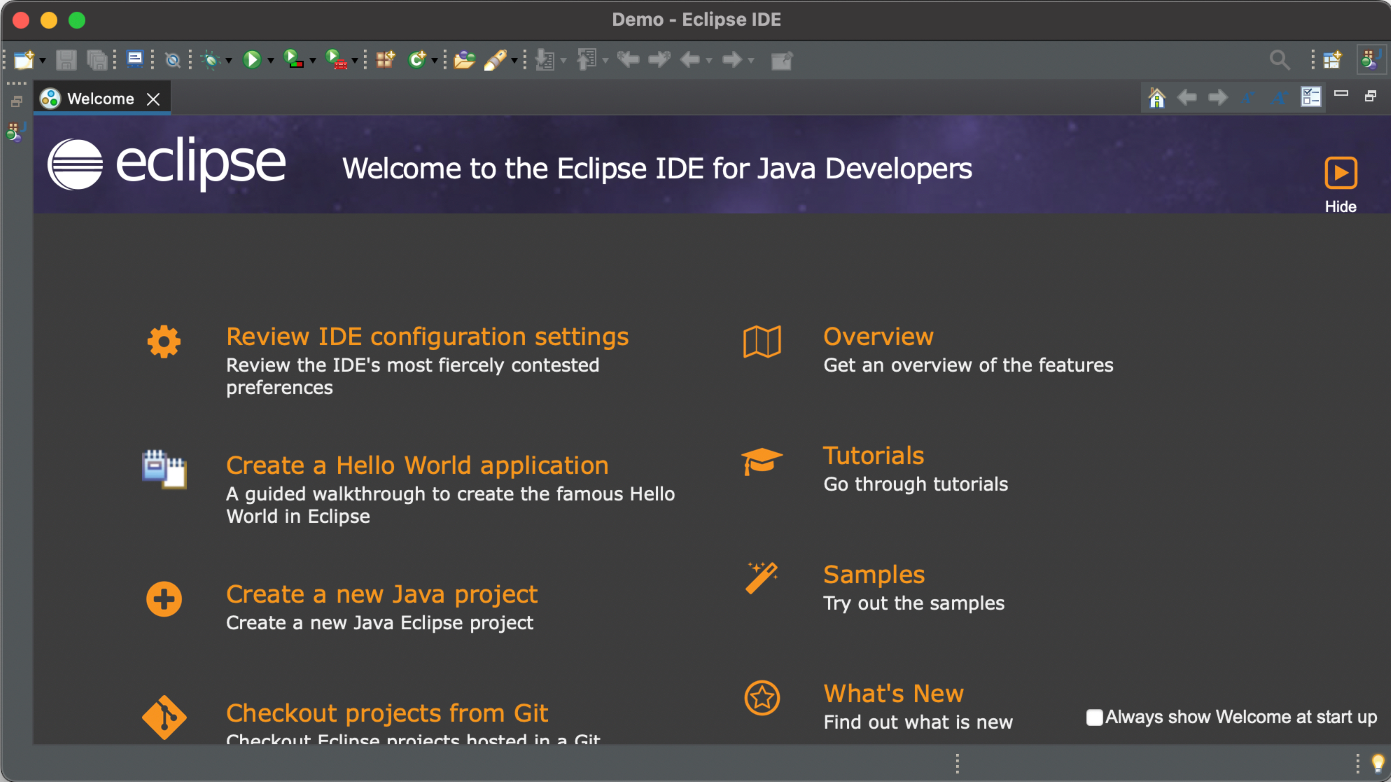
- Select your Workspace folder and click "Launch" button

- Your Eclipse now looks like below
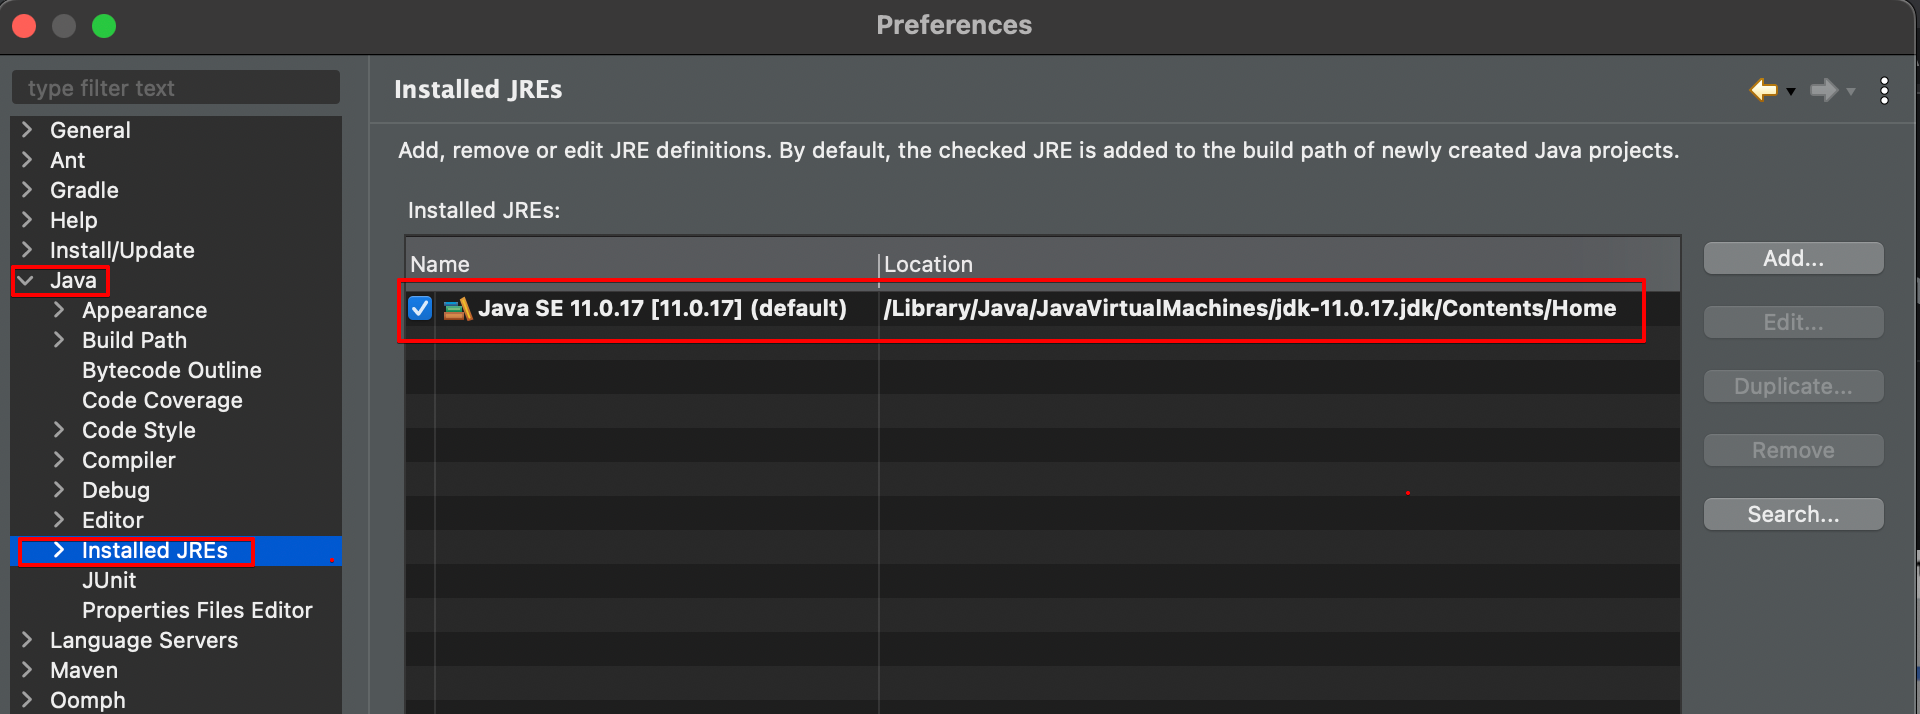
Step 2.3 - Configuration Compiler and JREs in Eclipse
Eclipse → Settings → Preferences
■ Setting JREs like the image below.
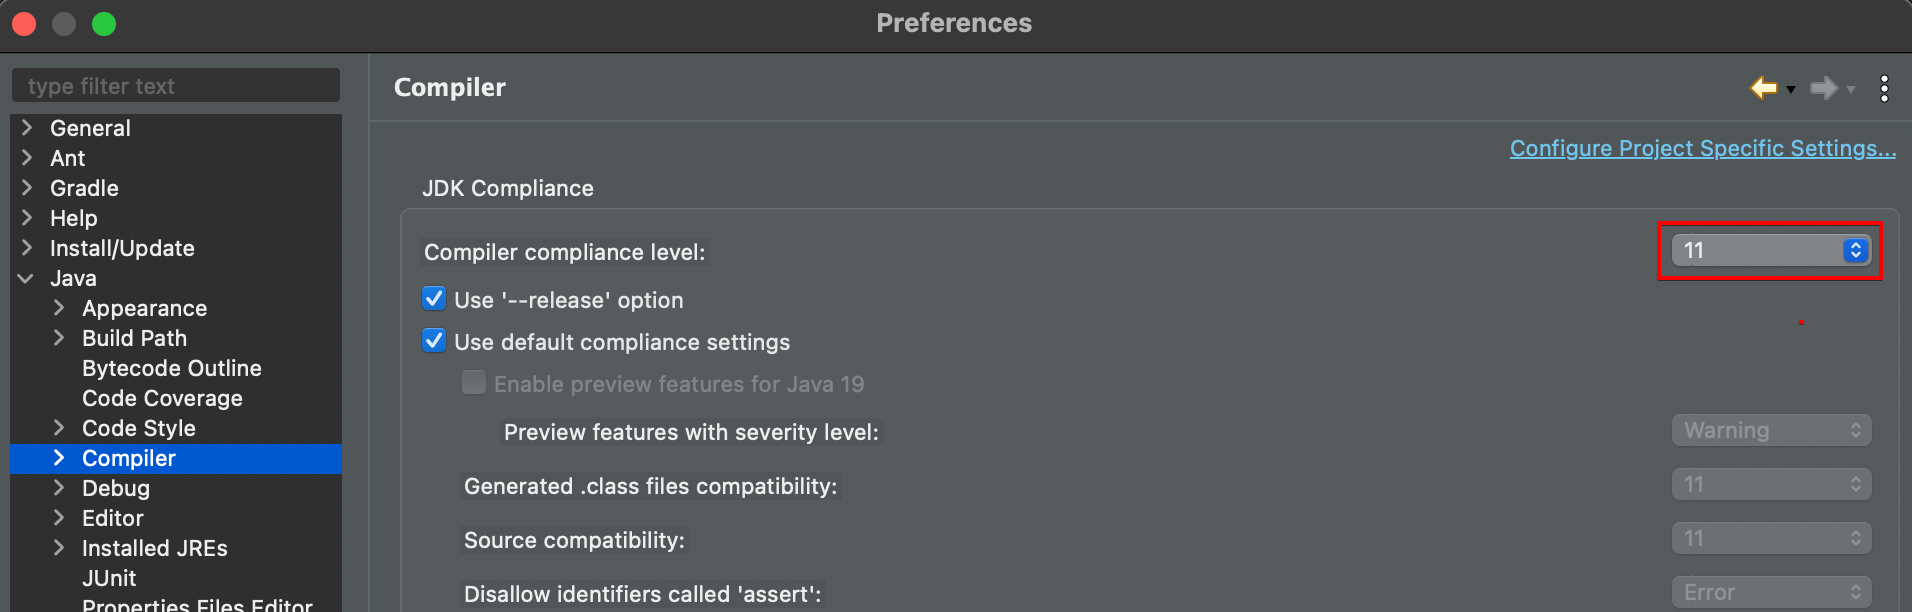
■ Setting compiler compliance level to 11.
Step 3 - Download Selenium WebDriver Libraries
Selenium WebDriver is a web framework that allows you to automate web-based application testing to verify that it performs expectedly.
Let's take a look at Selenium WebDriver Architecture.
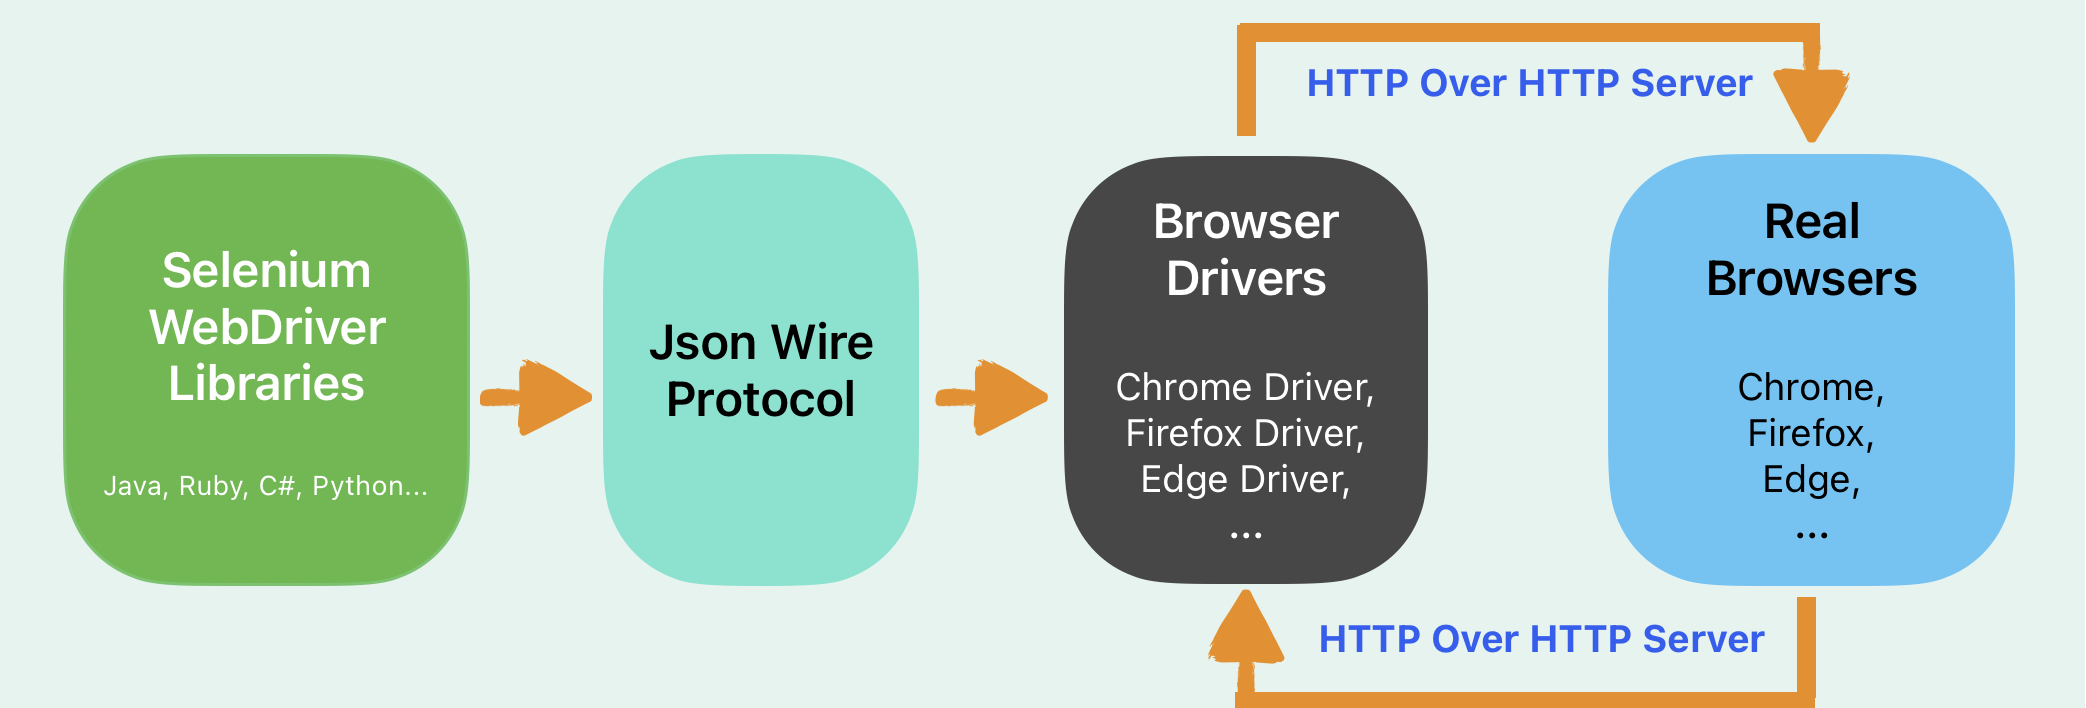
Selenium Webdriver supports multiple languages like Java, Ruby, C#, Python... Each language has its client driver. As we are using Selenium with Java, we need to download Selenium WebDriver Libraries in the following instructions.
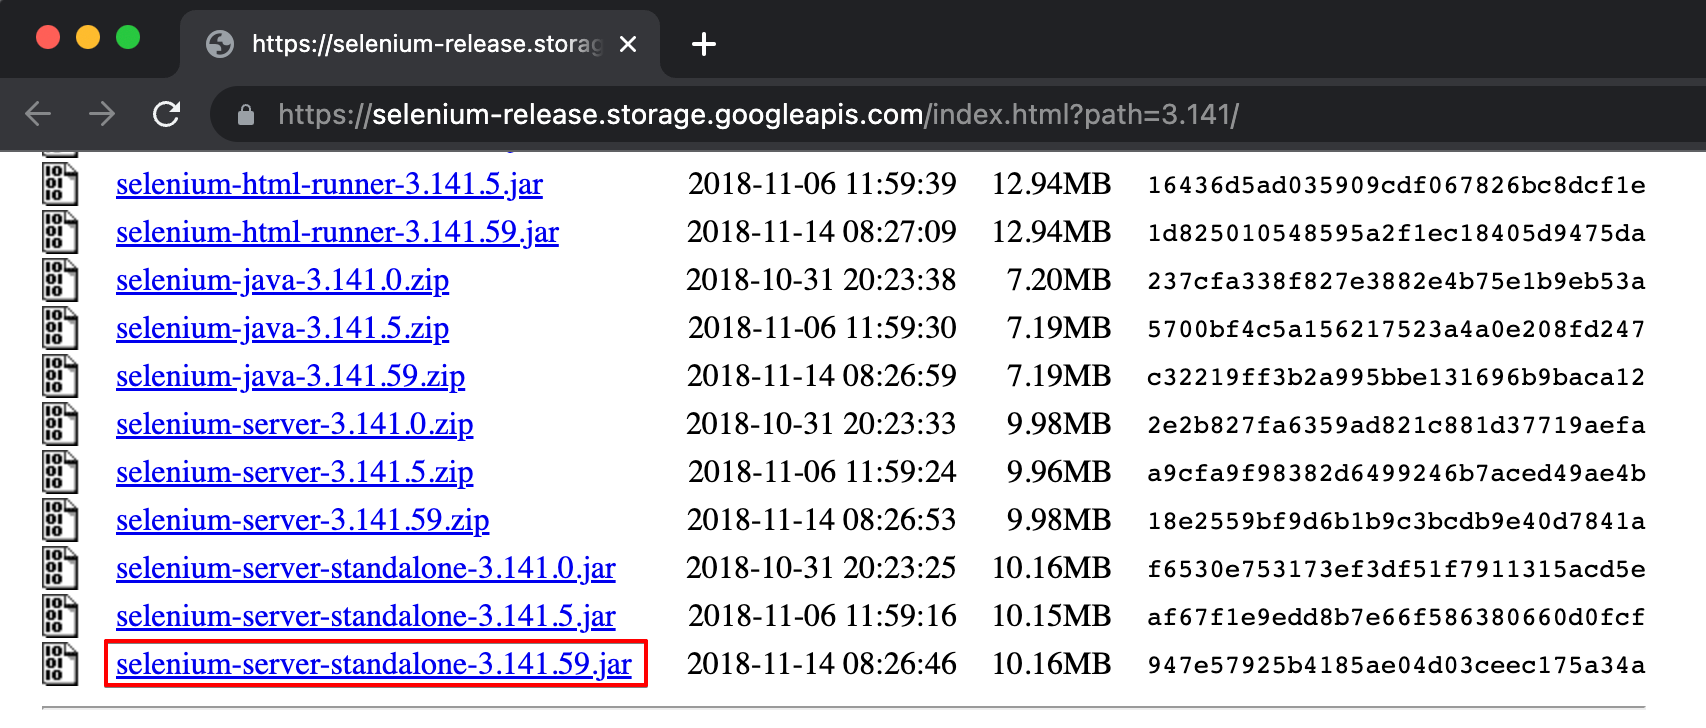
■ Open this link below
https://selenium-release.storage.googleapis.com/index.html?path=3.141/
■ Download "selenium-server-standalone-3.141.59.jar" file.
Step 4 - Configure Selenium WebDriver with Eclipse
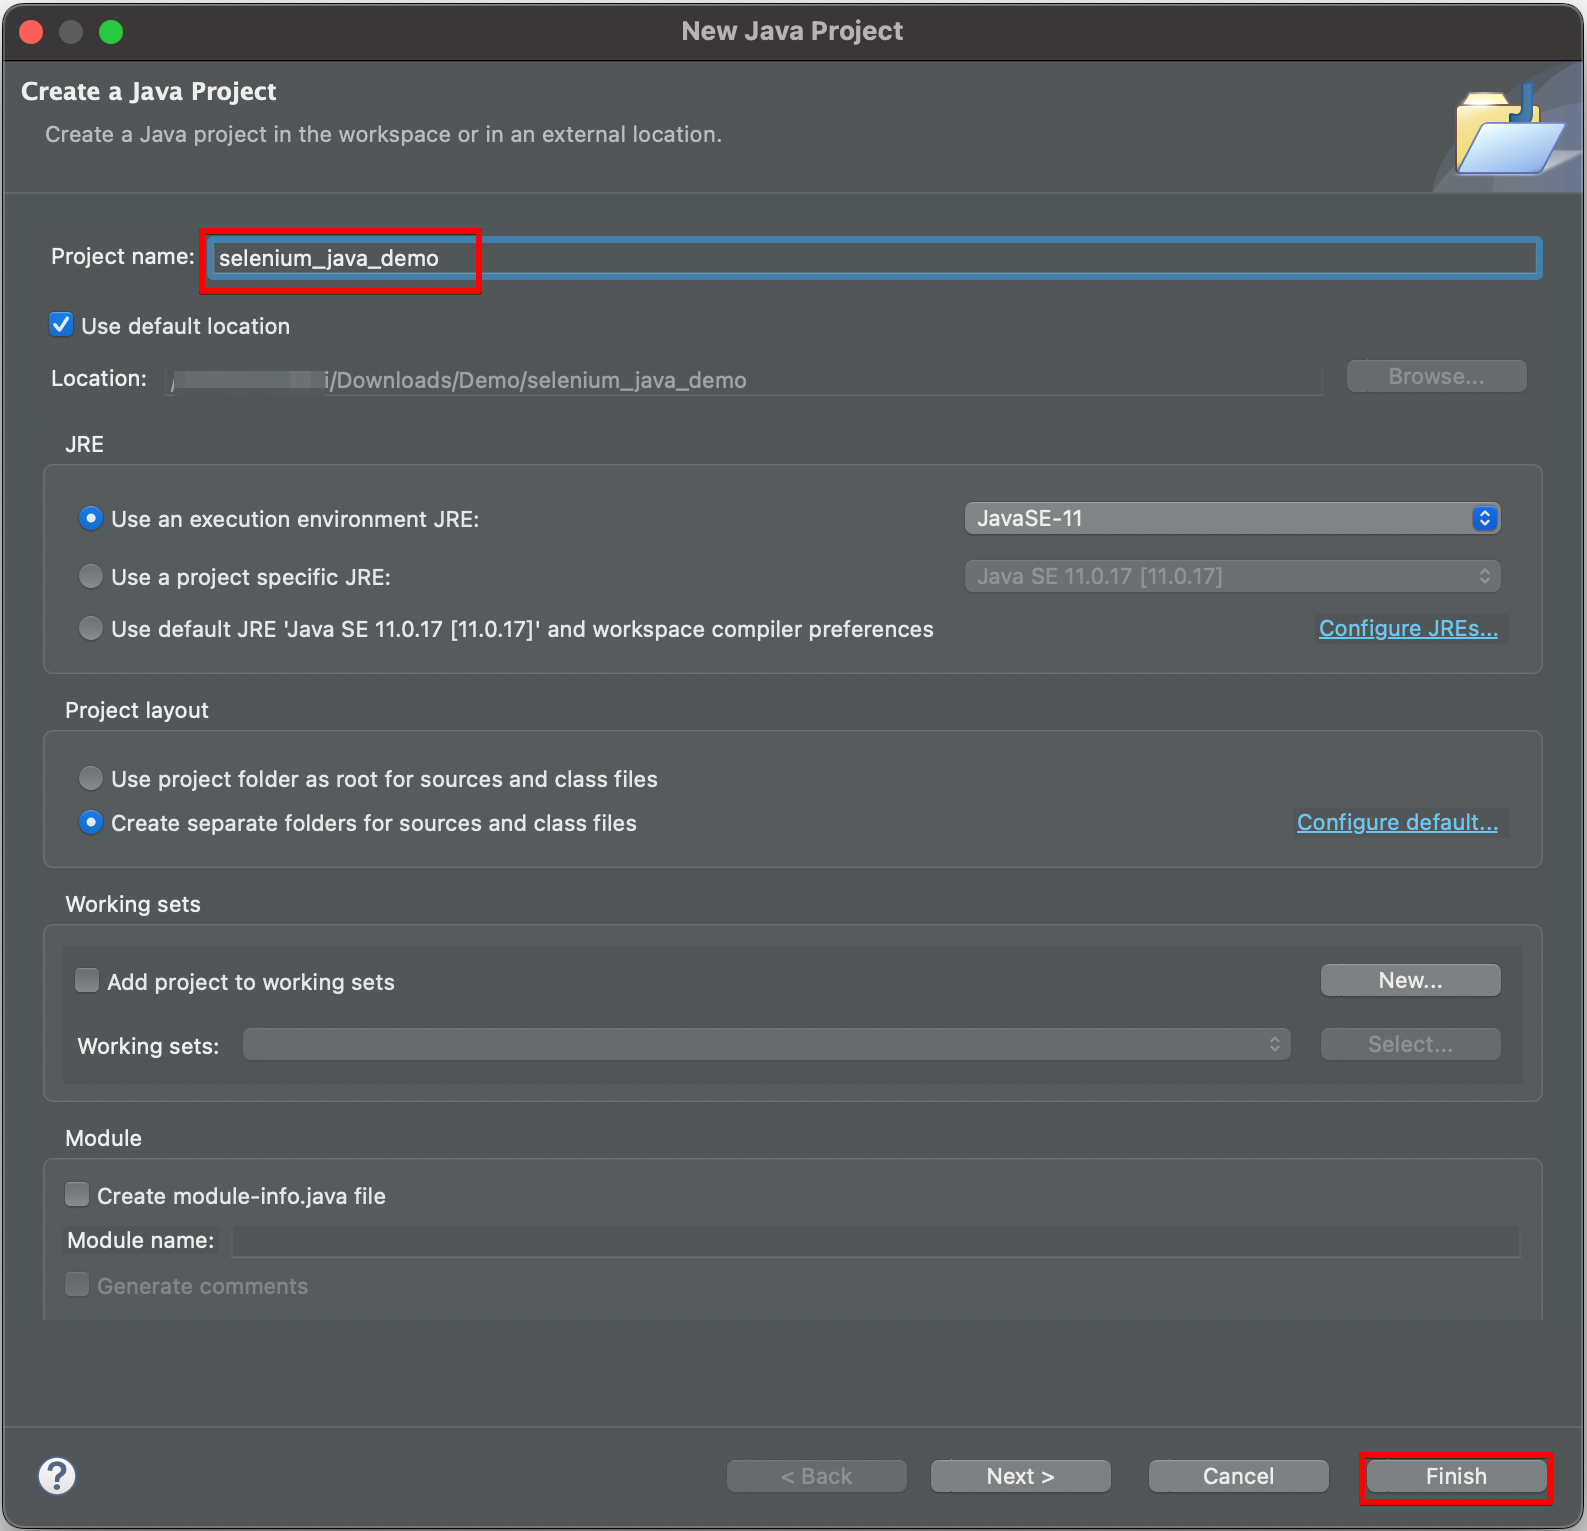
■ Create a new Java project
- File → New → Java Project → Enter project name and click Finish
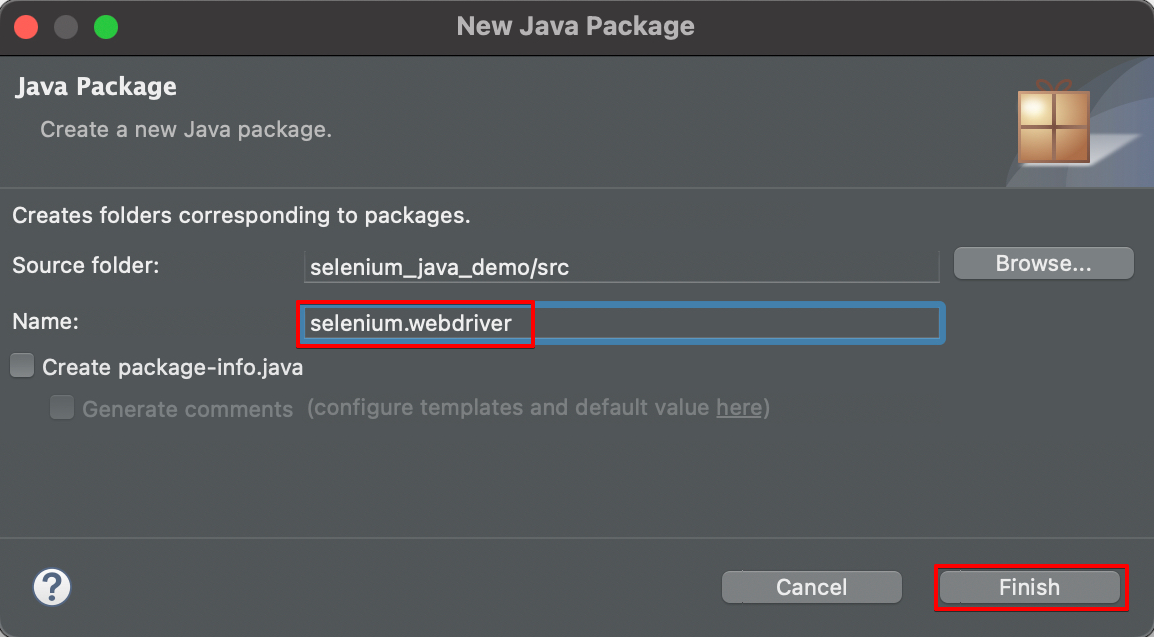
■ Create a new package under this project
- Right-clicking on the ‘src’ folder → New → Package → Enter package name and click Finish
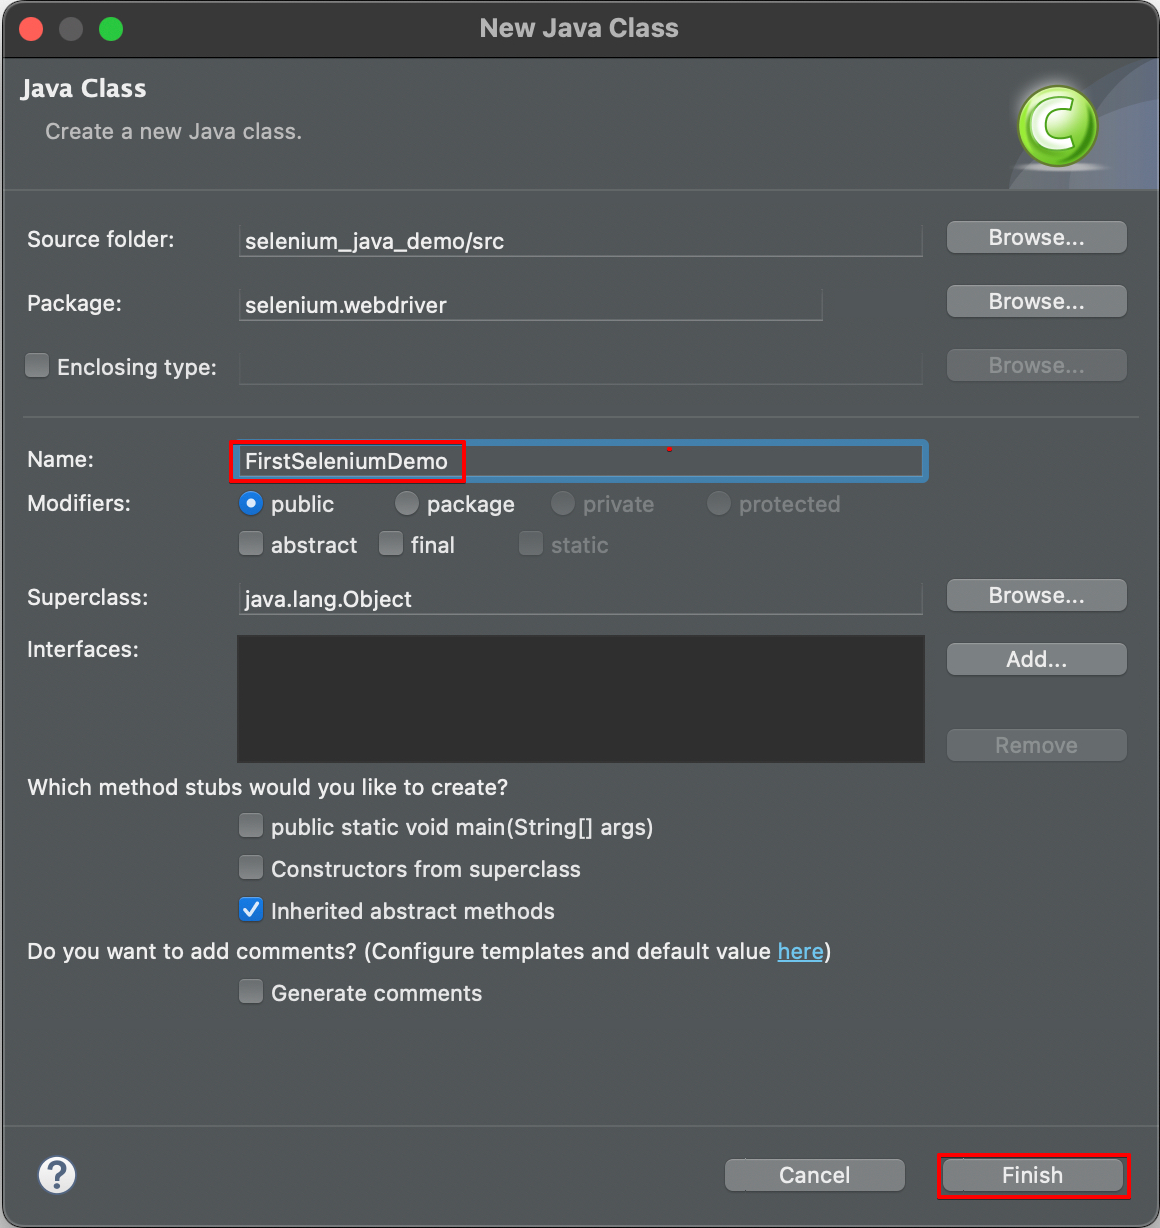
■ Create a new class under this package
- Right-clicking on the ‘selenium.webdriver’ package → New → Class → Enter class name and click Finish
■ Create a new folder under this project
- Right-clicking on this project name → New → Folder → Enter folder name and click Finish
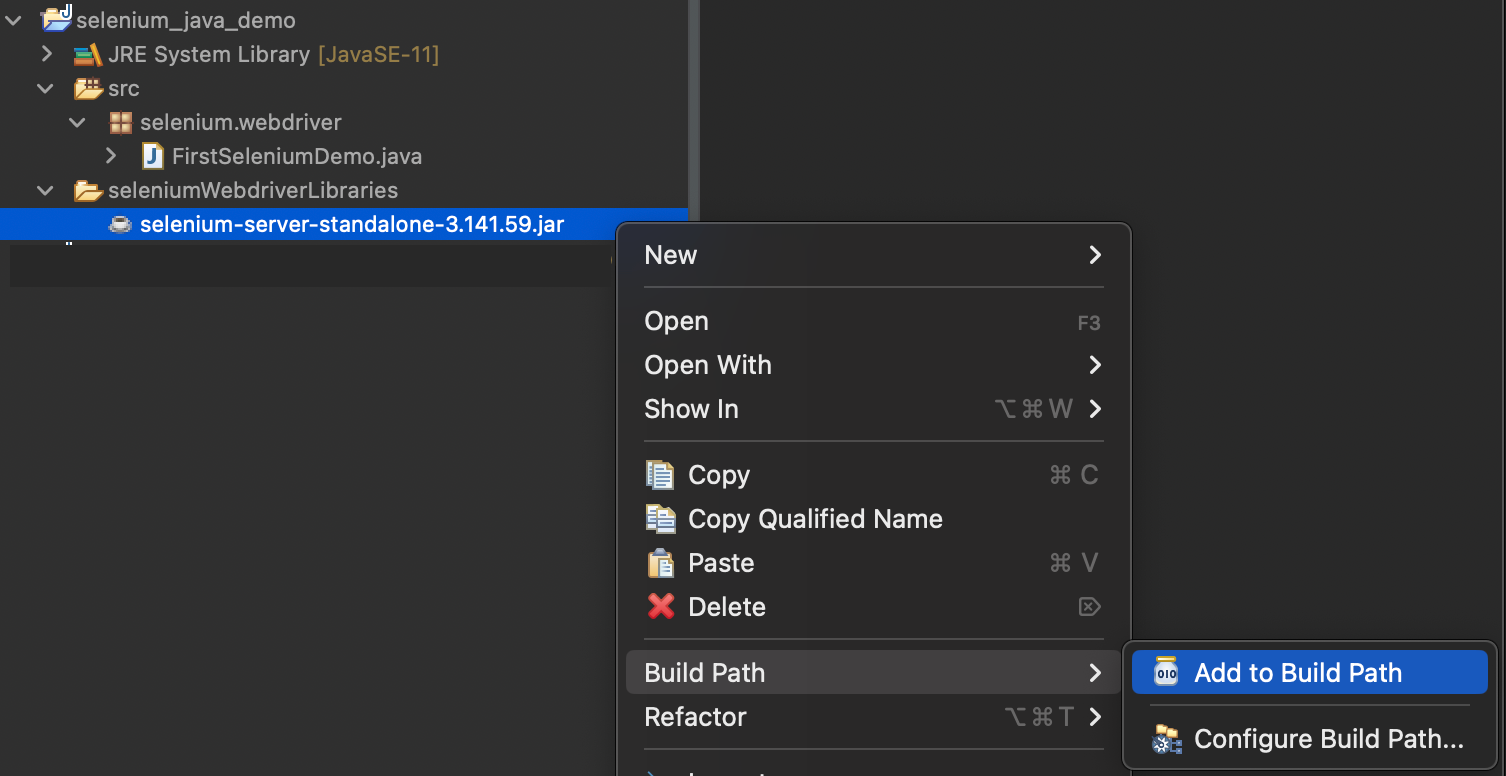
- Copy Selenium Webdriver Libraries(.jar file) downloaded in Step 3, and Paste to folder created above
- Right-clicking on Selenium Webdriver Libraries(.jar file) → Build Path → Add to Build Path
Step 5 - Download ChromeDriver
ChromeDriver is a separate executable that Selenium WebDriver uses to control Chrome.
■ Download ChromeDriver in the link below.
Which version of chrome driver should select depends on the version of Chrome you are using.
Link: https://chromedriver.storage.googleapis.com/index.html
If you are using Chrome version 110, please download ChromeDriver 110.0.5481.77

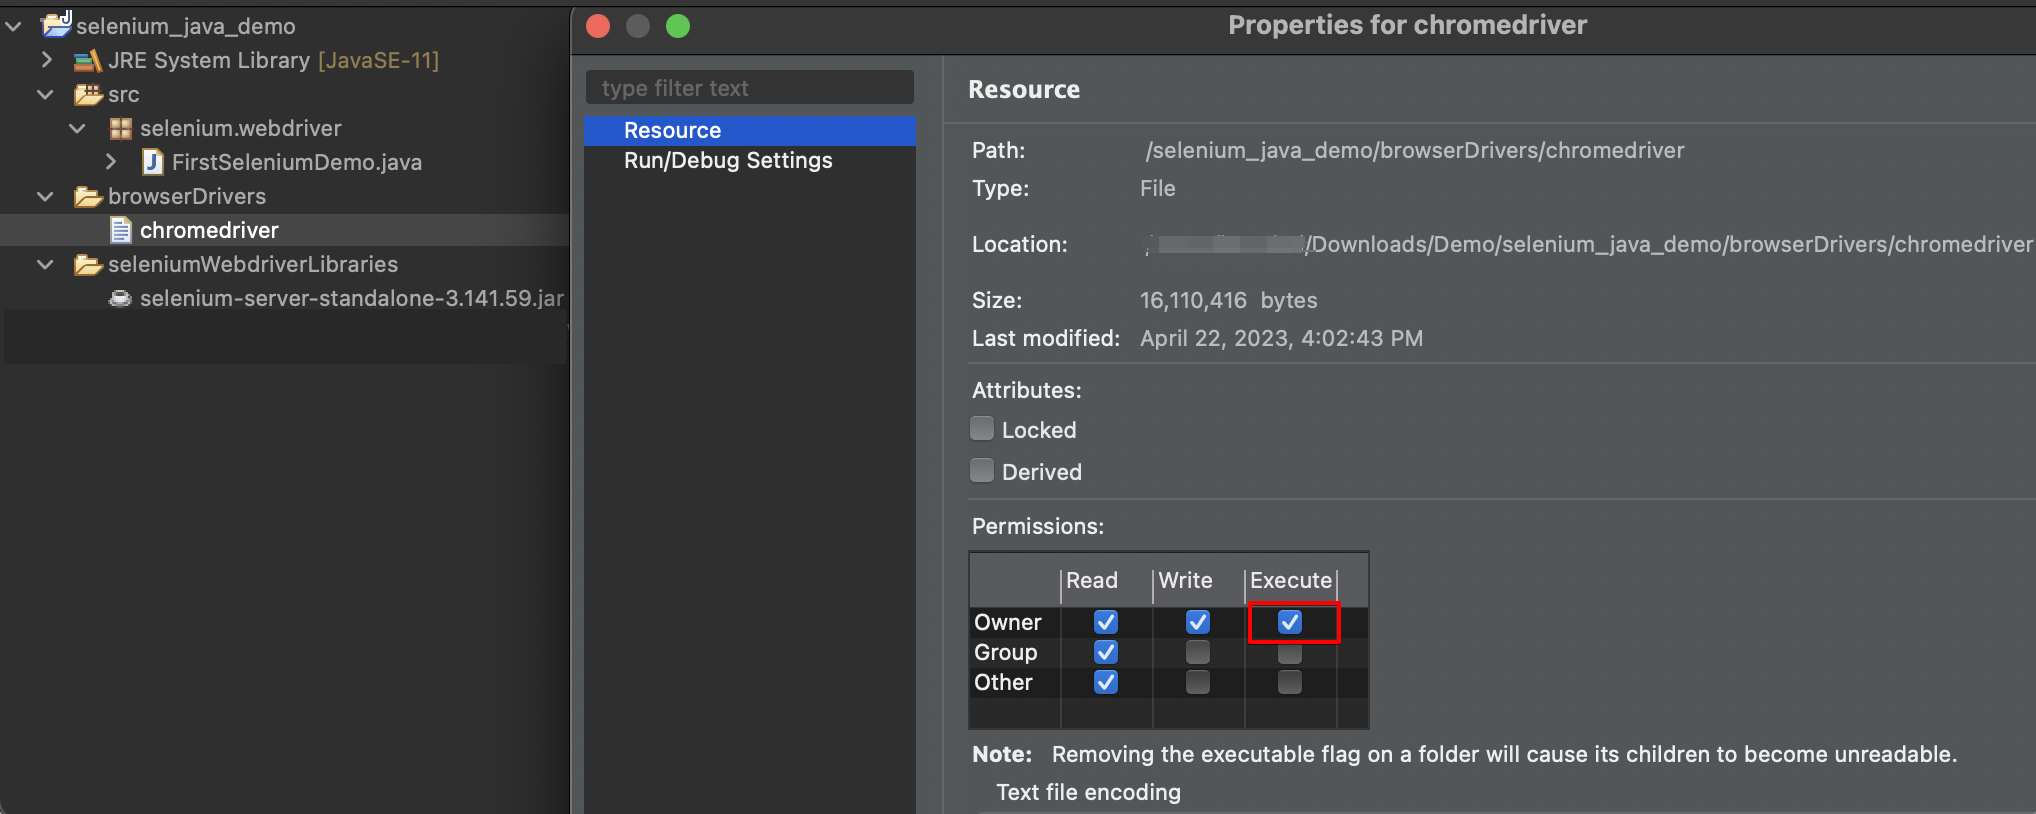
■ Extract .zip file and copy 'chromedriver'→ paste to the folder 'browserDrivers'in this project.
Note: To make sure that chromedriver is executable, right click on chromedriver → Properties → at Permissions area, check on the checkbox as image below.
Step 6 - Create and Run the first test with Selenium and Java
■ Copy below sample code and paste to class that created in previous step.
package selenium.webdriver;
import org.openqa.selenium.By;
import org.openqa.selenium.WebDriver;
import org.openqa.selenium.chrome.ChromeDriver;
public class FirstSeleniumDemo {
public static void main(String[] args) {
// get project path
String projectPath = System.getProperty("user.dir");
//setting the driver executable
System.setProperty("webdriver.chrome.driver", projectPath + "/browserDrivers/chromedriver");
//Initiating and opening chrome browser
WebDriver driver = new ChromeDriver();
//open browser with desired URL
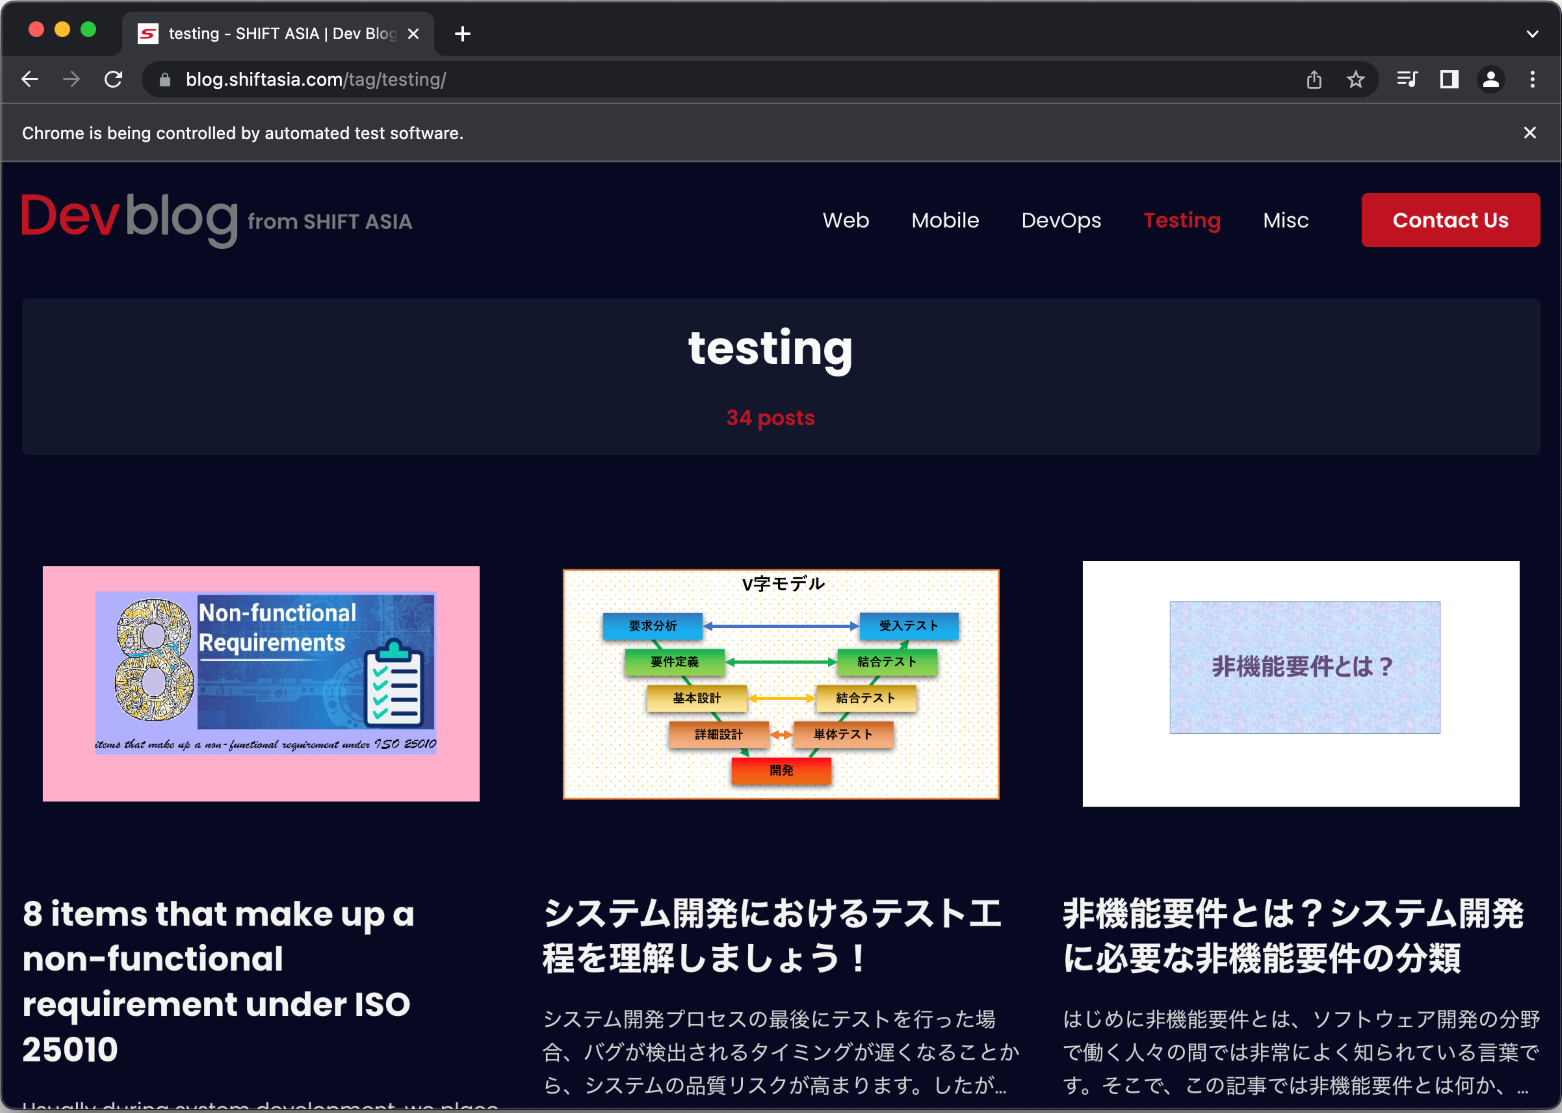
driver.get("https://blog.shiftasia.com/");
//click to "Testing" link in header nav
driver.findElement(By.xpath("//div[@class='header__right']//a[text()='Testing']")).click();
//closing the browser
driver.close();
}
}■ Right click on code area → Run As → Java Application
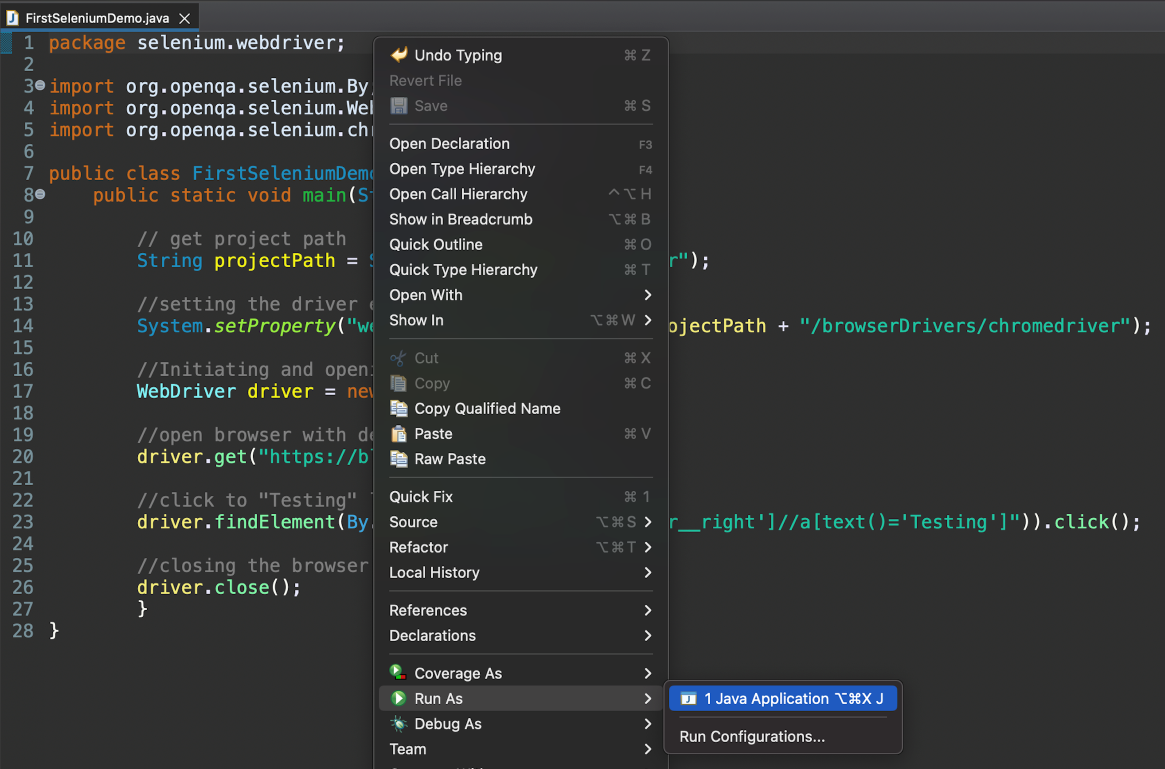
■ When the code is executed, Chrome browser will be opened and navigated to blogs website of SHIFT ASIA “https://blog.shiftasia.com/” and then navigated to Testing blogs page after clicking “Testing" link in the header menu.